Quattro123.com
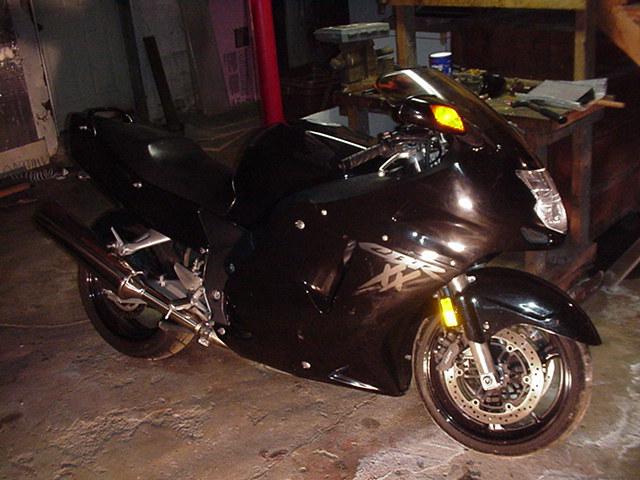
Sprocket & Chain Replacement on a 1997 CBR 1100xx Blackbird

Here we are changing the chain due to it being severely stretched,
so we'll replace the two sprockets too. Now its INVOLVED......
Steps:
I am NOT a mechanic, failure can result in injury or death.
Here's how I did it, which MAY NOT be correct.
I consulted the service manual for torques and guidance.
1. Remove rear wheel and chain.
2. Remove Front Sprocket cover, then 2A if needed.
2A. Slave Cylinder on Sprocket Cover or leave inner most bolt in, then
Drain/Bleed Hydraulic Clutch reservoir and do preventative system flush.
3. Replace Front and Rear Sprockets & Chain
4. Reassemble.
Quick jump to:
Front Sprocket: Slave Cylinder removal and Bleed. Rear Sprocket: Wheel & Axel
Rear Wheel Assessment:
The rear Caliper hangs on the swing arm bracket.
No work is done to the brake in removing the wheel.
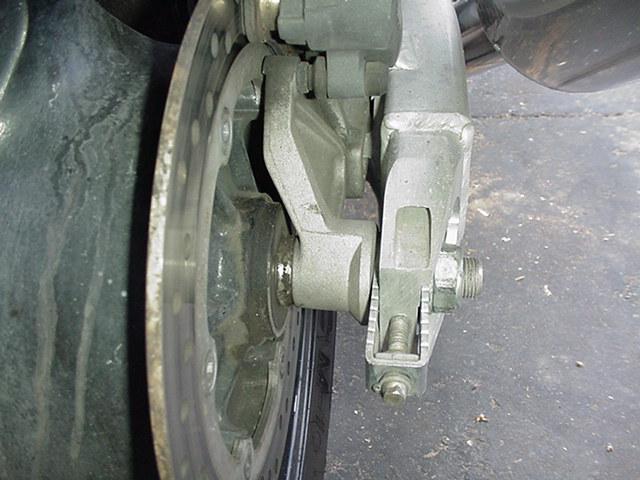
I took these pictures for future reassembly reference if needed.
On the Left drive side, we can see dirt accumulated all around.
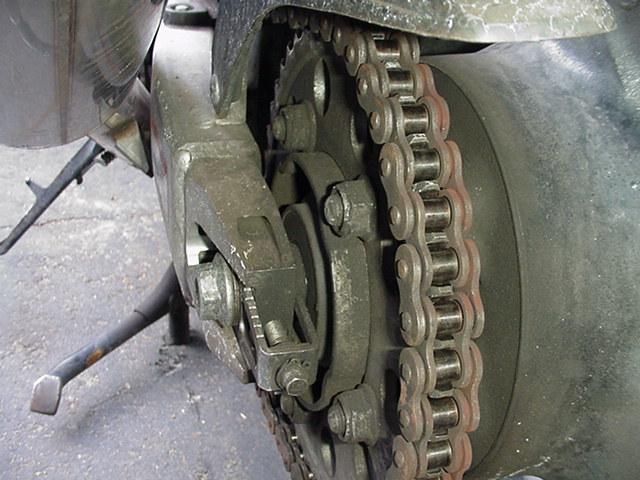
We will remove the rear tire and change this sprocket. Sprocket removal will be simple here.
Front Sprocket
However, the front sprocket is behind this cover, which is also held on by 4 bolts
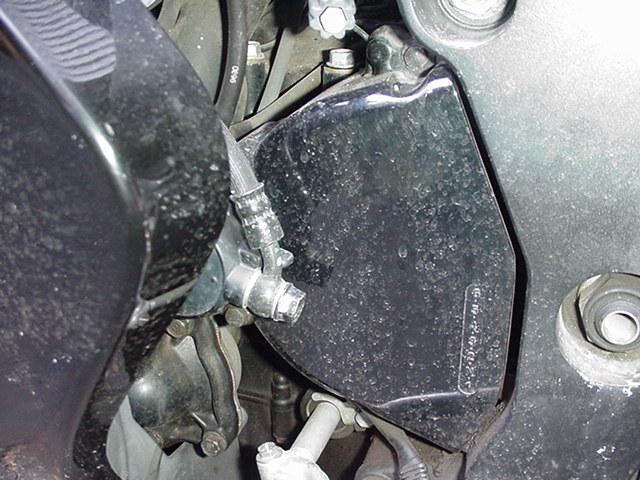
by the slave cylinder assembly. Hmmmmm. This will have to be worked on too.
The service manual calls for removal of the lower fairing to access the cover.
So off with the Fairing to have space to pull off the cover.
The front sprocket cover has a 8mm bolt on the top. All are 8mm.
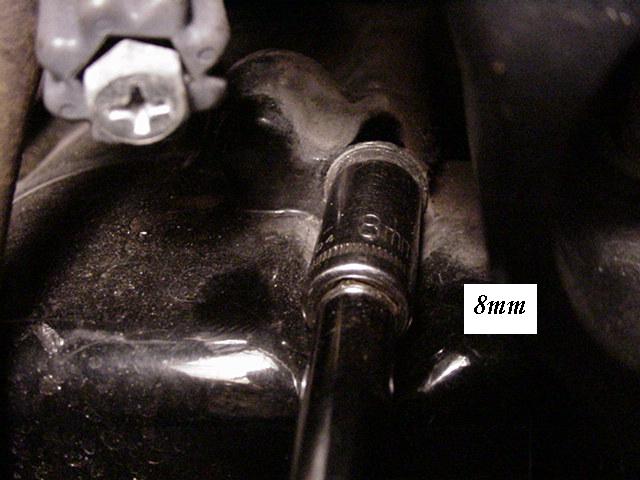
I used a ratchet, extension and a thin socket is needed for clearance.
I removed this from its clip for work room.

The bottom bolt is also 8mm and has a wire retainer fastened to it too.

Now we have two of the "five" bolts out.
There are three 8mm around the slave and TWO of them we remove.

* Here I found out that slave removal and full bleed isn't needed to get at
the front sprocket.
Read on about how I did it and which of the slave three bolts to leave in.
Here is the lower short bolt and bracket removed.
The upper and lower are shorter. The two on the left leading edge are longer and
its those two outer edge ones you remove to keep the slave cylinder on the cover.
Two Long, Two short each 8 MM.
Above: Cover is off, the Slave still on, and a 14mm socket for the Sprocket bolt.
Here the bolts out, kind of easy, with some sealer on the threads.
I used Blue Locktite when I reinstalled. Sprocket bolt is ~40 ft lbs.
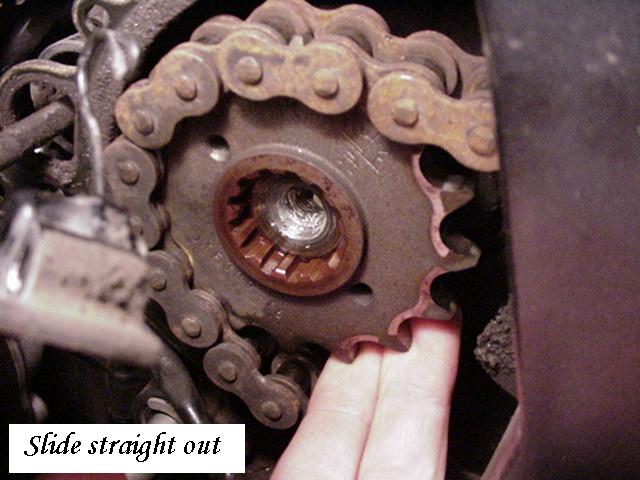
With slack from the chain, I just two fingered it right out.
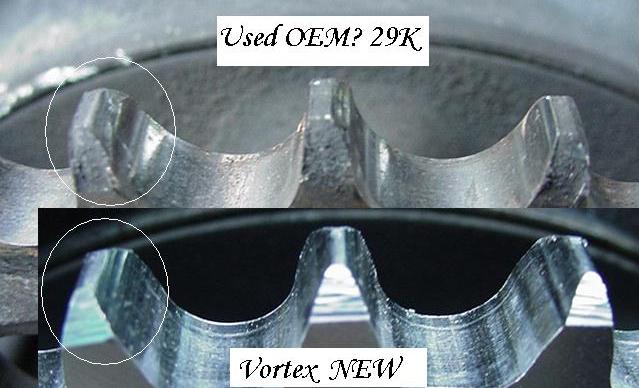
Below is the OEM I assume Sprocket and its stampings.
Teeth actually look really good. Ebay special.
Wow, the inside is full of gunk and needs to be cleaned.
I ALSO took the outer metal gasket off and cleaned it.
Here is the aftermarket Vortex Sprocket I'm trying this time.
SLAVE CYLINDER ROD:
While your in there:
I pulled this out and cleaned all the gunk off, 'till it was nice and shinny.
The instructions say to grease the round end of the rod so I did to both ends.
Once you sort out the chain: Clean, replace or do nothing, its reassembly time!
Below is everything cleaned, the New Sprocket AND new Chain.
Here: The 4 outer bolts needed ~7 Ft lbs to reseat them snug.
All put back together around the cover area.
To Complete the Clutch work, DO THIS: Bleed the Clutch Slave
Here, I established I had an extra vacuum line dangling.
Right and left are the same. I pulled it out farther on the right.
I had two extra parts left over:
The "J" bracket goes on the lower cover bolt. Bolt?
REAR Wheel, Sprocket and Axle Removal:
Here we start to remove the rear wheel to gain chain slack to remove the axle, then wheel.

The service manual says to loosen the Axle Nut on the right side First.
Now since I tested the Left Axle Bolt first, I can tell you it just spun,
but you might be able to loosen the right Nut from the left bolt,
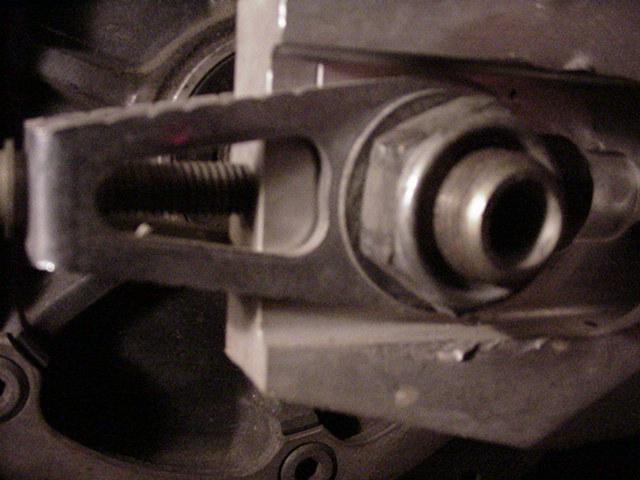
if the Nut has enough friction to stay put and not spin around.
Just do the right Nut first.

Take a 27mm socket or Adjustable wrench to do this. Left side is smaller at 22mm.
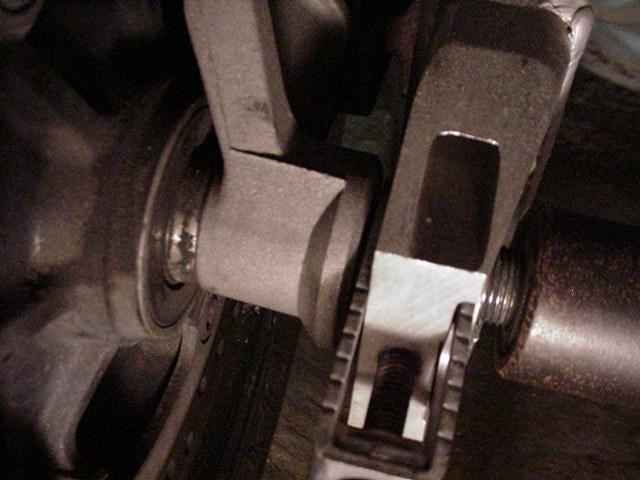
Here a reference photo to see the order components go together. Nut is backed off.

Here a Left side reference photo to see the order components go together.
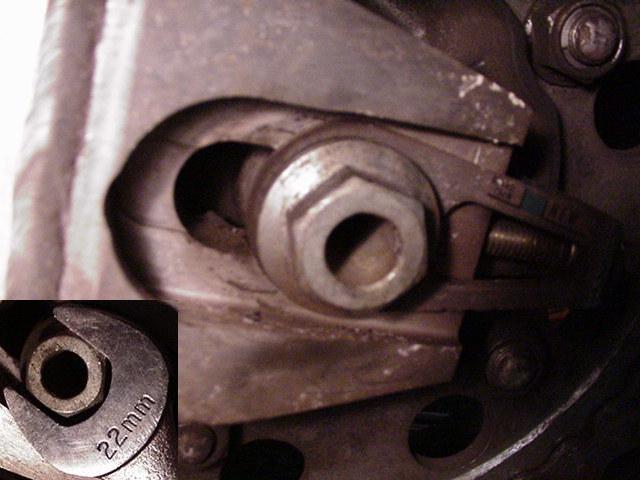
Here is the Axle Bolt. Its 22mm, while you can turn it,
after the Left Nut is undone, you'll just pull this out later like below.
Strangely, the service manual says to push the wheel in after loosening the axle bolt.
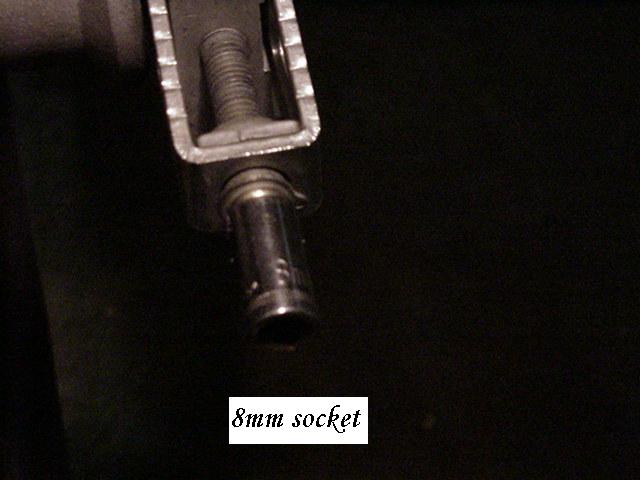
Here are the adjusters which have a 6 point 8mm nut. I used a socket.
The ONLY way I could move the wheel was to spin in these adjusters.

Its almost like the Service Manual missed a step.
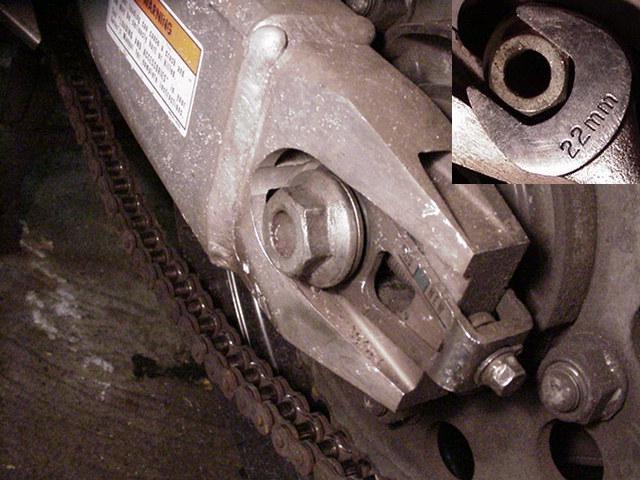
Now with the adjusters spun in, wheel forward, we can get the needed
chain slack to "derail" the chain from the Sprocket.
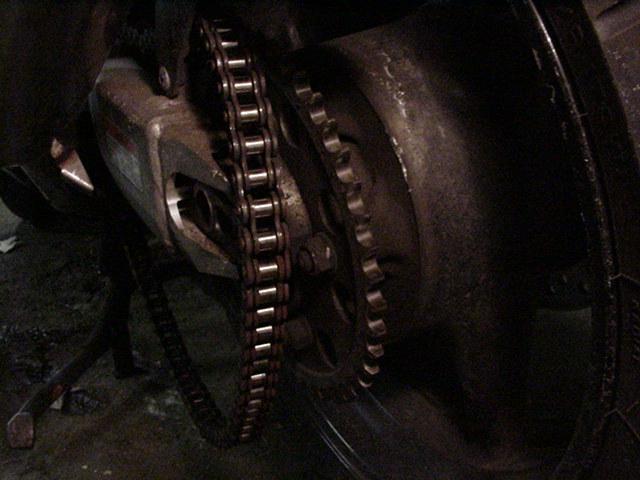
Okay I'm pulling the Axle Bolt out on the Left side now.
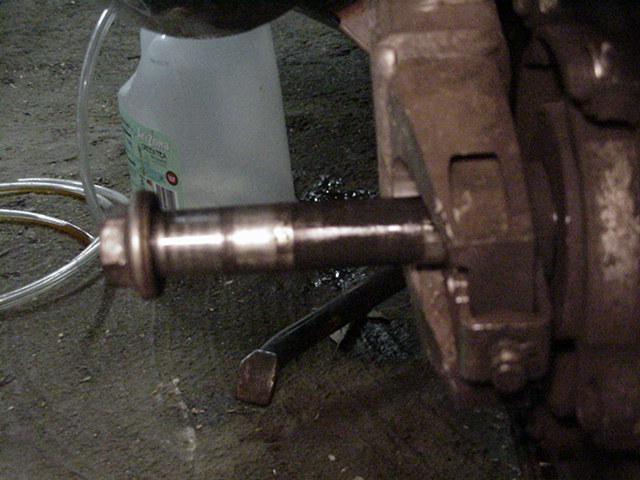
The end of the Axel has threads so I supported the wheel so
pulling it out or the weight of the wheel dropping, wouldn't damage them.

Checking the right side we can see how the axle aligned everything.

Axel bolt removed. Long eh?

Looking through to see the wheel bearing collars dropped down since axel is gone.
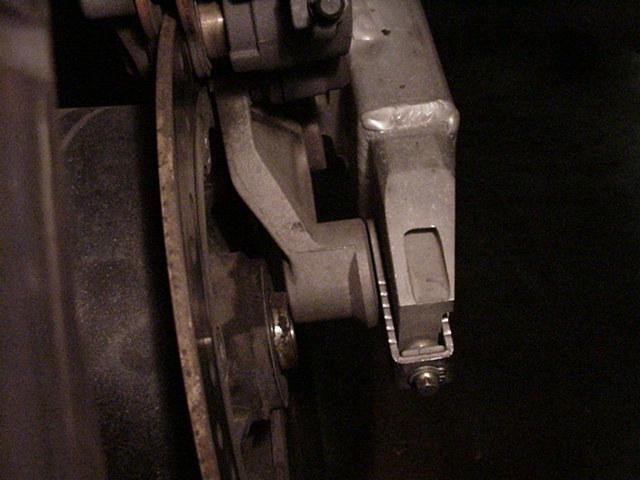
Above is the right side alignment.
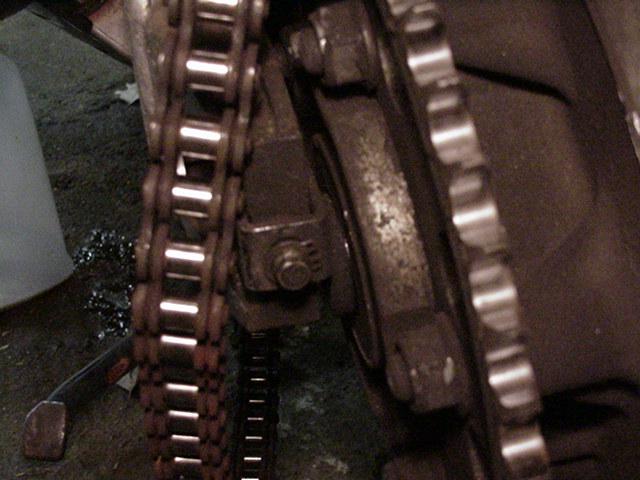
FYI:
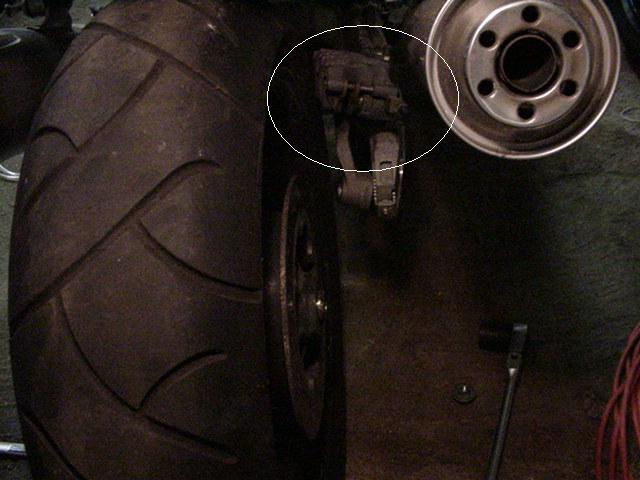
In order to remove the wheel, I had to tilt it left to clear the brake caliper,
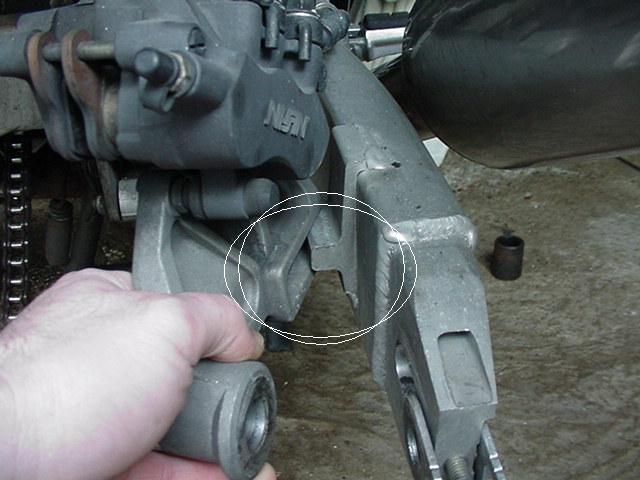
which seems to rest on this trailing arm sub frame ledge.
Now that the old wheel is out:

The new Rim gets a new tire, valve stem, sprocket and brake rotor.
In cinching up the Aluminum drive sprocket:
I used this pattern on each 19mm 6 point nut to 80 Ft lbs.

Then I removed the center collar from the old rim and with new grease,
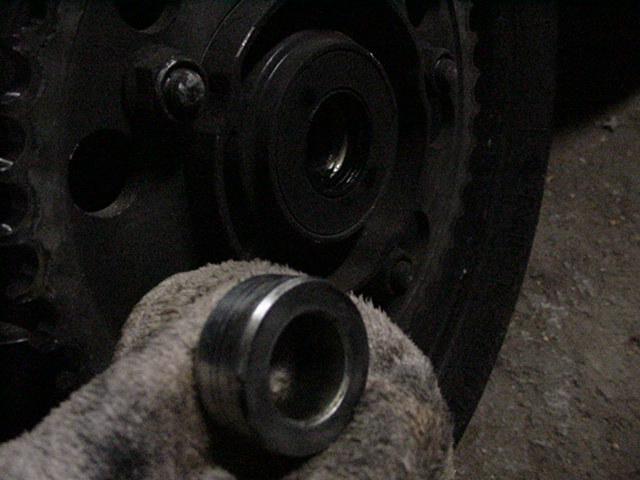
placed it into the new rim after I cleaned out the area with a Q-tip.
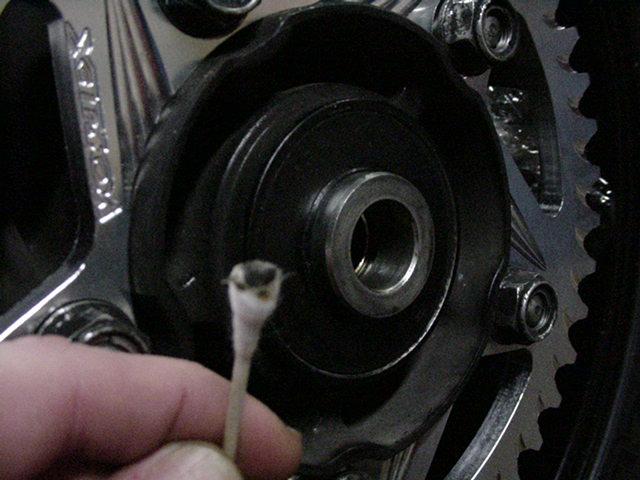
Ditto to the brake rotor side.
On the right side of the rim is the brake rotor.
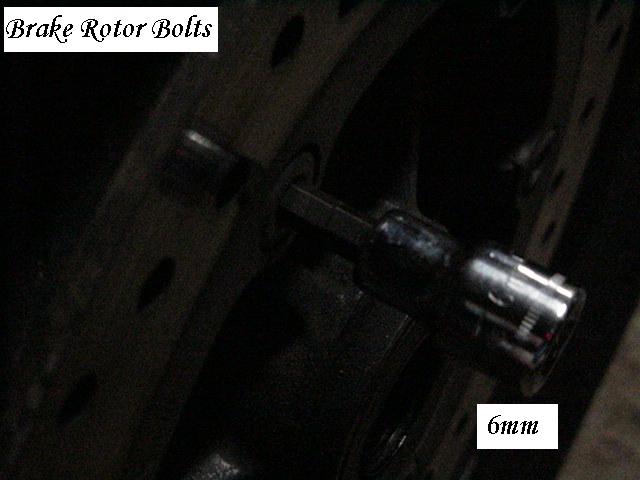
The rotor is attached to the rim by 5 (6mm) hex head flush mounting bolts.
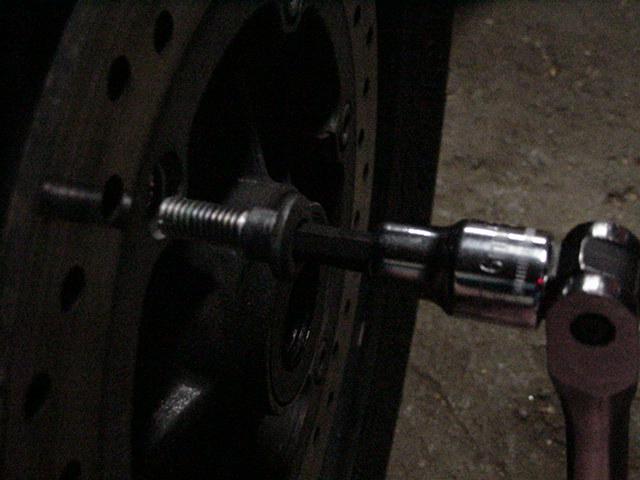
Here is the length for reference.
I used the same torque pattern here swapping the rotor to this rim.
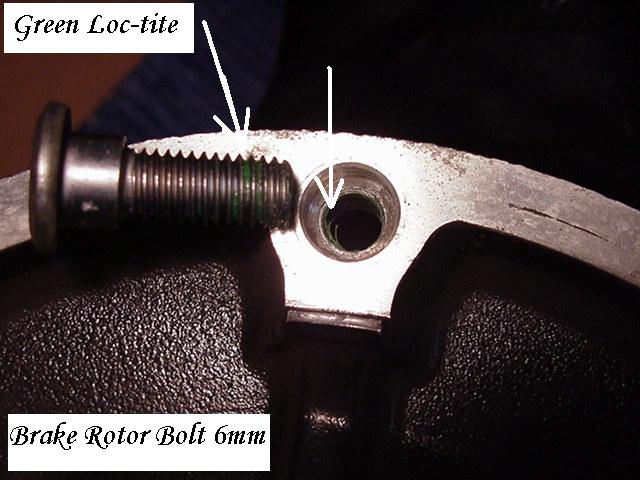
Each bolt had green Loc - tite on them and both rims had similar
green Loc - tite in their threads. Never changed from the factory?
Checking the Rotor:
From: www.onlineconversion.com 4 mm is 0.1575 inch and 3/16 is 0.1875

3 hundredths of an inch left (.03) So I think we are okay here.
Rotor shows almost no wear down from center thickness.
Now its time for the chain to be installed.
* Here I found out that slave removal and full bleed
isn't needed to get at the front sprocket.

To Complete the wheel replacement, Clean Axle, lightly grease outer
flat tube surface, slide through swingarm, rim and hand tighten lone axle nut.
Then, adjust tire and chain by the adjustment guide bolts or eye,
then tighten axle nut to 69 Ft lbs.