Quattro123.com
Clutch Master and Slave Cylinder Maintenance
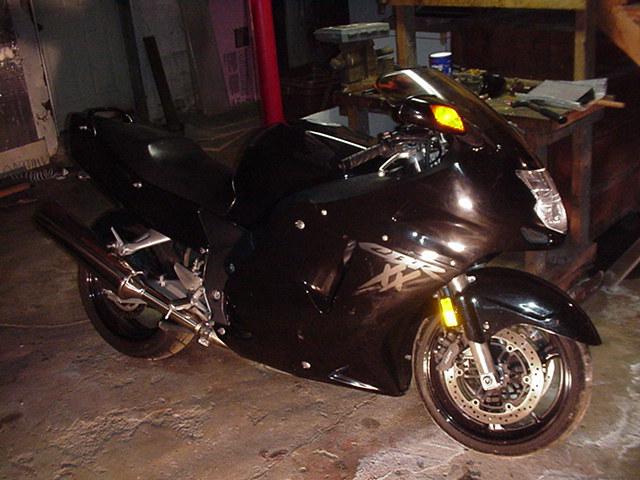
on a 1997 Honda CBR 1100xx Blackbird

Here we are bleeding the Clutch and slave cylinder,
Steps:
I am NOT a mechanic, failure can result in injury or death.
Here's how I did it, which MAY NOT be correct.
I consulted the service manual for torques and guidance.
1. Open reservoir top. Two #2 Philips screws.
2. Remove Insert and diaphragm:
Drain or bleed Hydraulic Clutch reservoir .
3. Tighten bleeder screw when done bleeding air from Master cylinder to Slave
4. Check operation.
Clutch & Slave BLEEDING:
Before I had the thumb screw driver, I had to remove the windscreen.

Here we had to access the reservoir by removing the windscreen fairing.
5mm hex wrench ^ for these bolts. Top ones have nuts behind them too.
The reason is the Service manual tells you to turn the bike wheel so the reservoir
is level. I can't do that because when adding fluid, the windscreen is in the way.
The short stubby Philips #2 screwdriver will work if the screws
aren't super tight, but adding DOT 4 brake fluid won't be easy.
This plastic insert is under the reservoir cover.
Under the insert is a rubber diaphragm. Look at the Gel like accumulation.
The underside of the diaphragm is really nasty.
Inside the reservoir is a lot of nasty Gel like varnish.
Below is a blurry towel or gel junk from the reservoir
Interestingly, most of the accumulation is on the bottom / lower end of the reservoir
The bottom has two orifices. One pin hole and the center one.
We've added new brake fluid, cleaning out the Master Cylinder area with Q-tips.
The piston travels underneath the reservoir and has three cambers which seem
to draw in fluid during each full stroke of the piston by the Clutch lever.
The cloud in the center is the gel gunk being discharged during slow clutch lever movement.
Here my brother cleans that out. While I take pictures and work the lever.
The sight window was a caked brown rust gel. It made the fluid look full and dark.
In the bottom of the reservoir, you can see the dislodged rust gel junk.

We covered the tank, dash and most of the bike to guard against splashing the brake cleaner around.
Then we gravity drained the reservoir two more times to flush out any cleaner residue.
Once the reservoir is full of clean DOT 4 brake fluid from a sealed (new) can,
we can crack the bleeder screw and get the air out of the line.
We can either use a pressure bleeder with a reservoir adapter, a vacuum pump
and suck or reverse bleed, or two people can gently pump up the clutch.
Bleeding the Slave Cylinder: You'll need hose that snuggly fits over the bleeder screw.

Trust me I never filled the whole hose. 12 oz., Coke can is MORE than enough.

Located on the slave cylinder on the sprocket cover is the bleeder screw.

We cracked that puppy and the crud that came out was OMG rusty.
Yuk. Rust, junk floating: NOT GOOD
Color of the trickle from the bleeder screw.
So I slowly and gently moved the clutch lever back and forth while opening the
bleeder screw after some pressure is built up. This expelled the fluid and aided
in the gravity drain of the contaminated fluid.
IF the clutch action does not come back, a reverse bleed
(putting in fluid from the bleeder screw UP to the resevior) may be needed.
This should purge any air bubbles.
Time to put thing(s) back together.
INDEX / Glossary:
hex wrench ^ = allen wrench, hex key or socket for hex head bolt.

Return to Sprockets. Back to the top. Back to the Bike Page Index