Quattro123.com

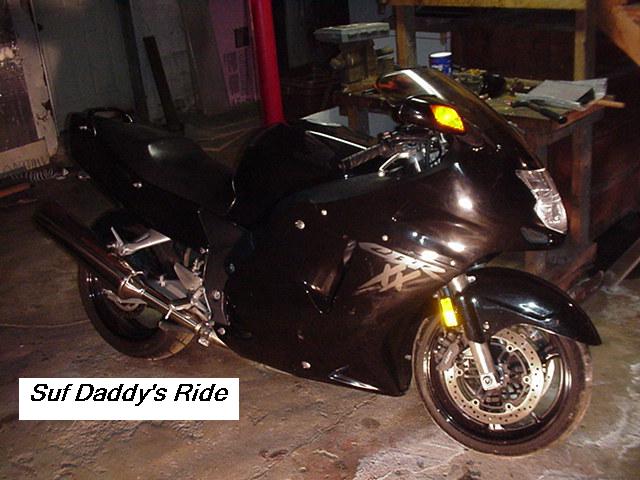
Chain Honda CBR 1100xx Sprockets.
Check chain tension and adjustment.
The manual says the rear axle bolts are 69 ft lbs.
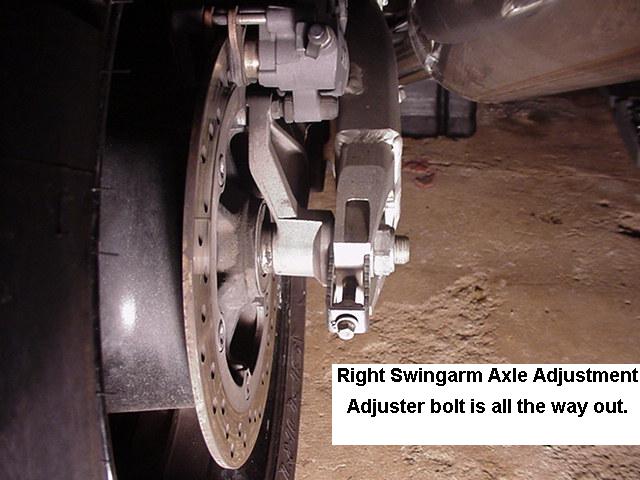
Below, the axle nut is at the end of the adjustable slot.
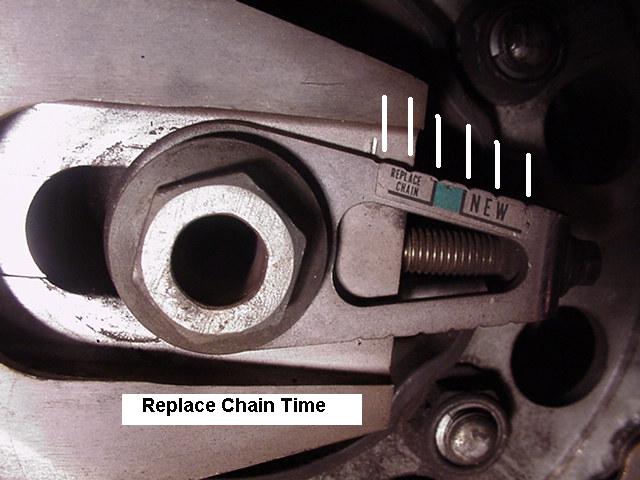
Even the sticker is past the "replace chain" area.
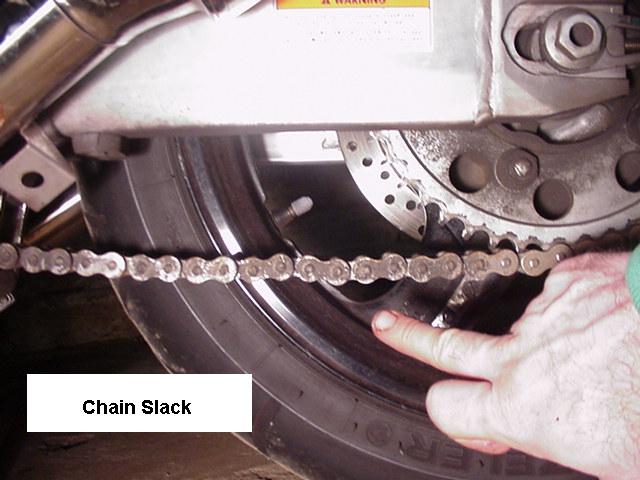
Chain tension is to have some slack / travel
when bike is loaded so it won't bind/snap.
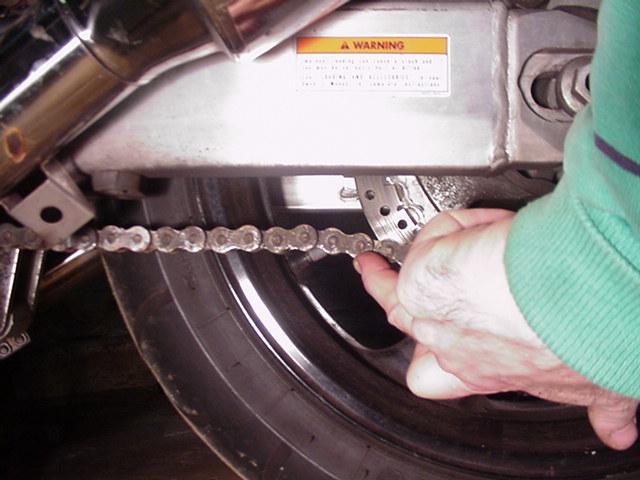
I thought the slack looked too much, even on the center stand
the chain dragged on the top of the swingarm frame.
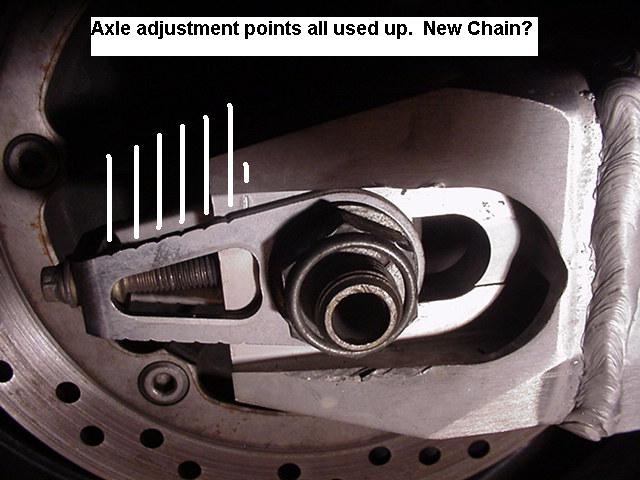
With both adjusters at their limits, its time to buy a new chain.
More chain swap how to below.......
Instructions:
Selection and Installation:
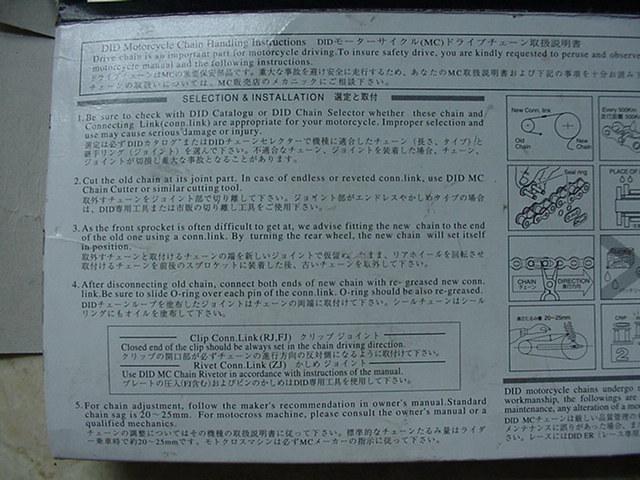
Maintenance
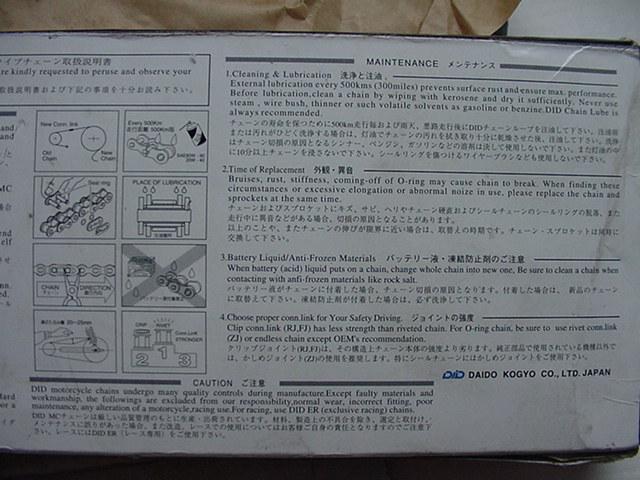
Chain change:
Ordered a Chain for my 1100cc BlackBird from KneeDraggers.com
It arrives and I take it out the have it cut down to 110 links.
Beauty except AFTER its cut down AND riveted I figure out its the wrong chain.
Some CHAMP put this label over the "Up to 1000cc" you can faintly see underneath.
With Z on this end and me being a newbie:
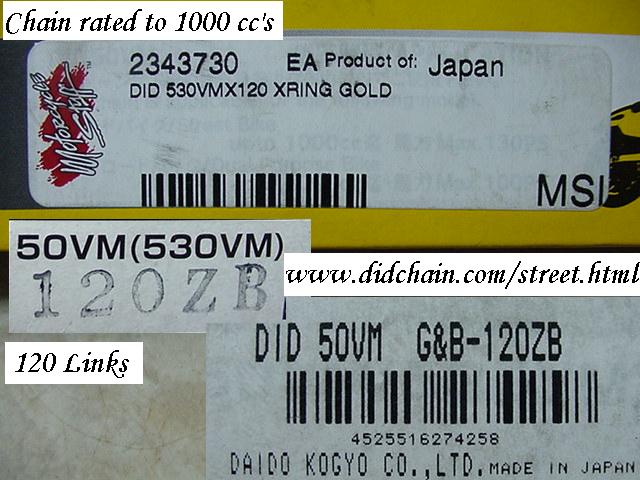
Does this code superceed the other? Now I'm BENCHED.
I took one for the team. Who knows? Now I do. If I'm gentle it'll work.
The FIRST clue was when I ordered another ZVM Master link and
it wouldn't fit in the 10 links dropped from the chain I had cut.
The 50/530 ZVM (foreground) is SLIGHTLY larger than the 50/530 VM Link.
So here they are side by side.
Hard to tell except the REAL ZVM has the
"up to 1300cc" rating. Even though its 100cc's, this WAS the fastest
production cycle in 1997. No cutting corners here. Since it'll do 180 MPH
Above is the real McCoy from White Buffalo
Racing.com
It EVEN had the Masterlink inside! So now I have a FEW spares.
Damn and Jim did such a mint job on the Master Link. Just like the photo.
So here are the two side by side. The Silver is just ever soooo bigger.
So I matched the 120 links with the 10 links Jim dropped off.
and off to the vise to grind off some rivets.
Now that the rivet heads are off, its time to press them out.
So here I've hack sawed the link and looking for a press to push out the pin.
Brother's tool box to the rescue! Here's a nut cutter, with the point removed.
Lines up nicely and pushed the pin free no problem. Woo Hoo!
MASTER LINK:
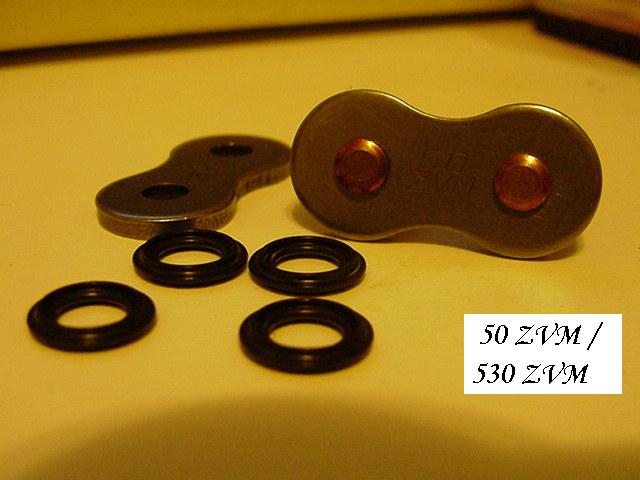
Here half the installation showing the O ring profile, less the grease.
Here is the O-ring profile In case you loose one
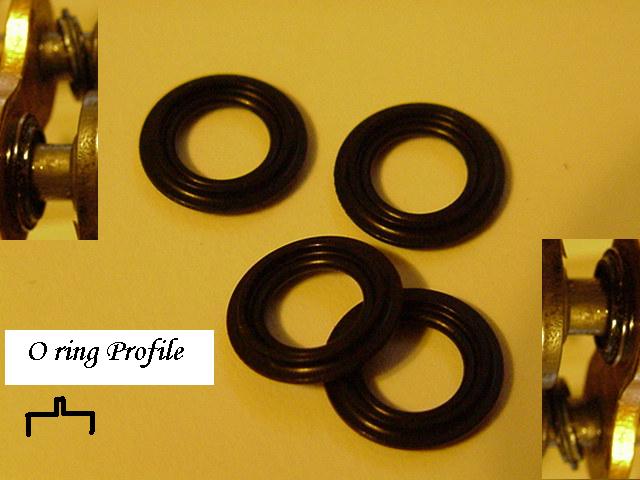
and try to substitute some generic O ring.
The pins of the Master Link Rivet type "ZJ"
Here's the ALMOST finished product, just before pressing the links together.
Yes, I used ALL the grease included in the Master Link kit..
Photo
Pressed Link on and then flared by a chain tool.