Quattro123.com
200 Type 44 Brakes
Below is a combination of type 44 Chassis cars.
1990 200 10V Avant
1991 200 20V Avant
1991 200 20V Sedan
Front Brakes 10V
Coming soon!
Front Brakes 20V 3B
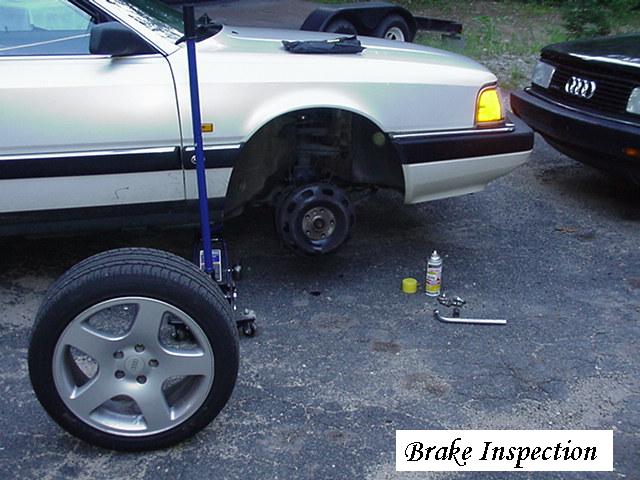
Removal of the UFO's ended up ridiculously easier than anticipated.
LEAVE the three big caliper carrier bolts alone! I ALMOST undid them.
Pull out the metal clip.
Take a screw driver or flat beefy blade to push the piston back in a bit.
DROP the inner pad out from the play created by the screwdriver above.
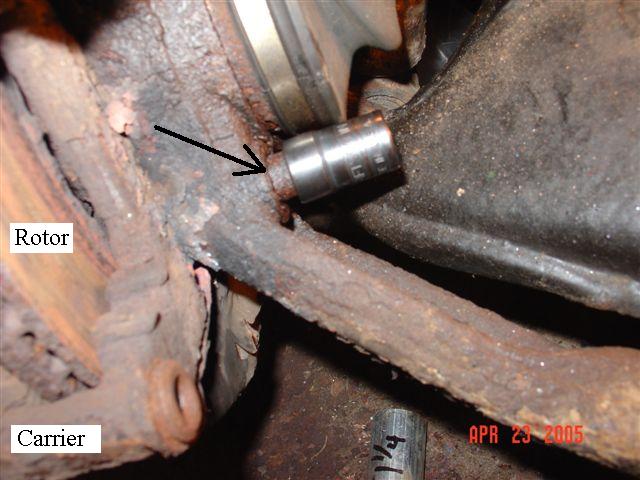
Then remove or break the tiny set screw on the rotor:
(tricky part) move the rotor forward and back
(wiggle and pry/twist) until it clears the inner pad and comes off in your hands.
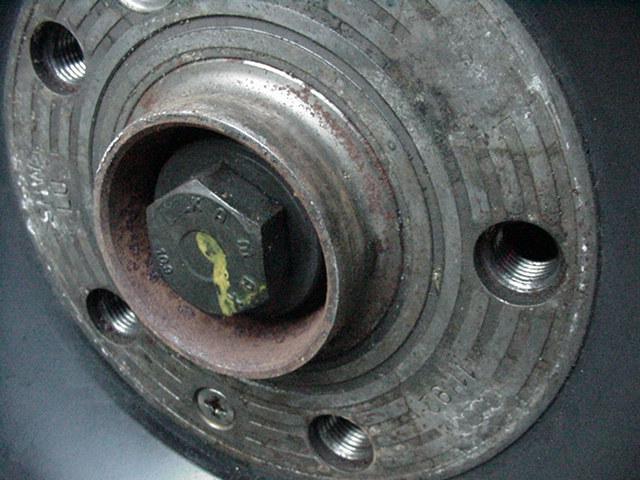
Left Drivers side:


"UFO" Internal Caliper rotor set screw and wheel hub.
Mintex Reds these needed sensor wires below.

Jurid is factory and Mintex Red... both lower temp street pads. Not good track choices.
- Mark
Scroll down for Pagids. Jurid pads (worn) at the bottom of the page.

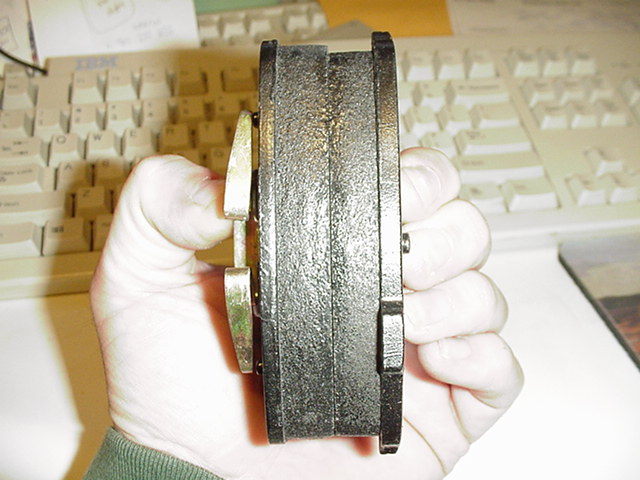
These pads don't come with the wear sensors built in.

You'll need one sensor wire per side. Two per front axle.

Here's a split view of the sensor.
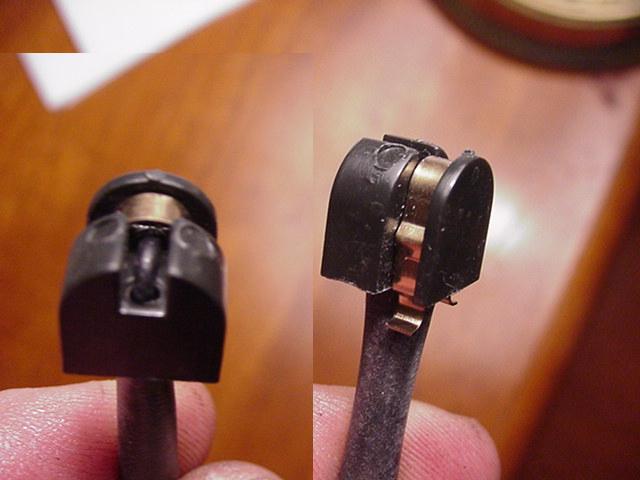
Which fits right into the groove in the bottom of the front pad.


.642 of an inch OR 16.32 mm
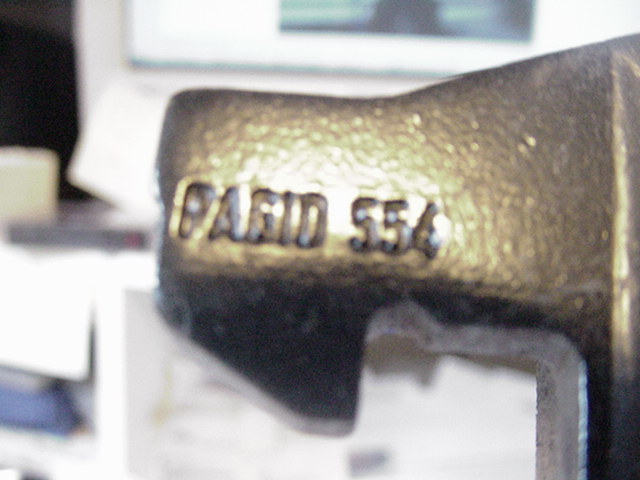
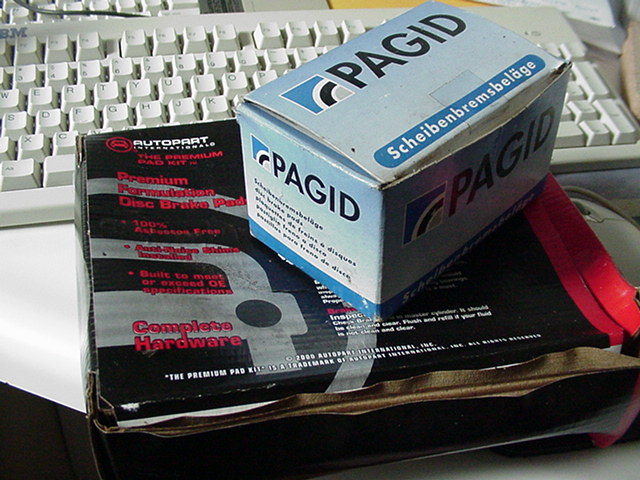
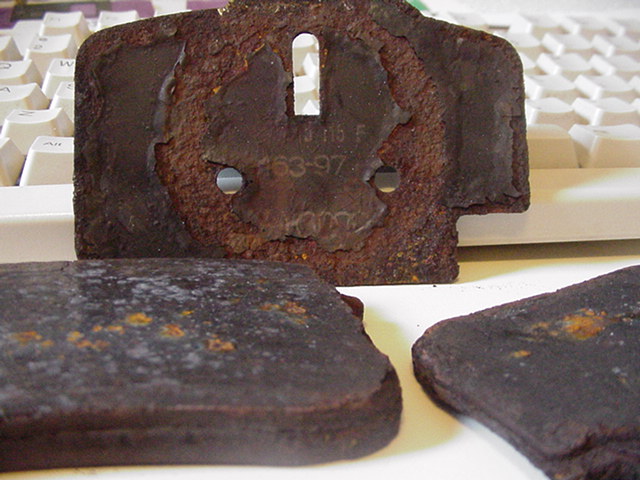
Pagids, For UFO: "internal brake caliper"
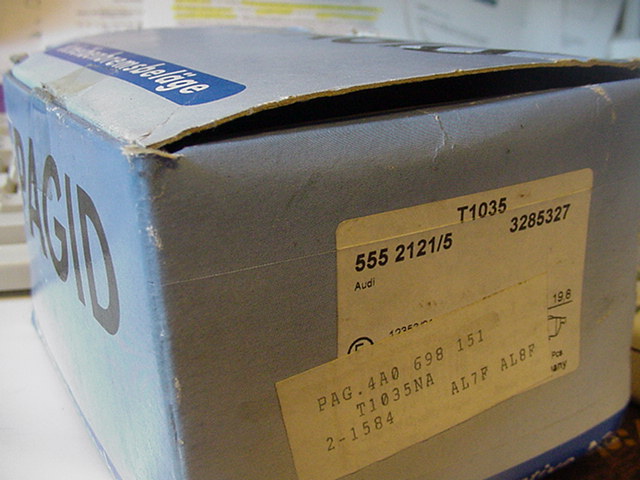
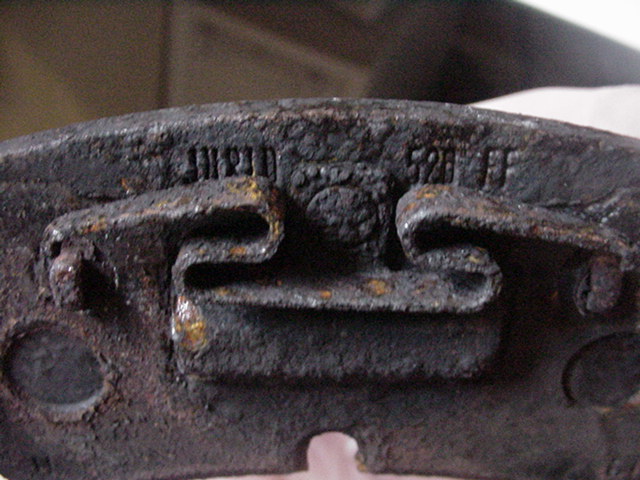
The back plate stamping doesn't match the 555 on the box.

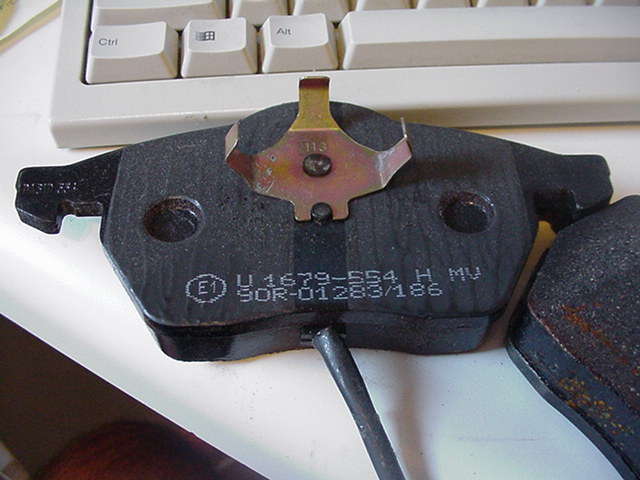
Close up of the inboard pad.
Right Passenger side:

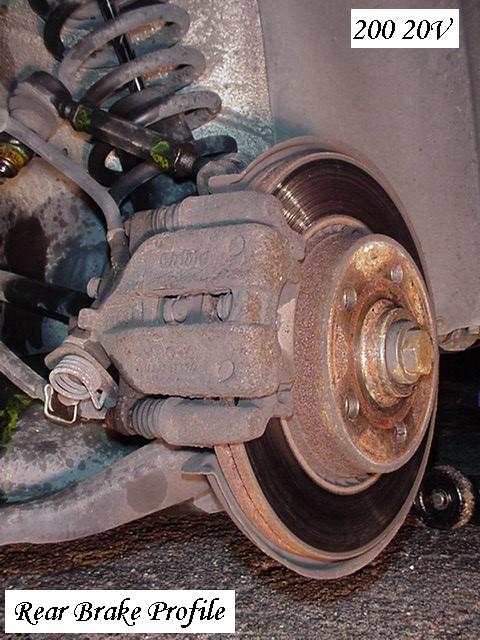
Rear Brakes 20V 3B
Left Drivers side (LR)

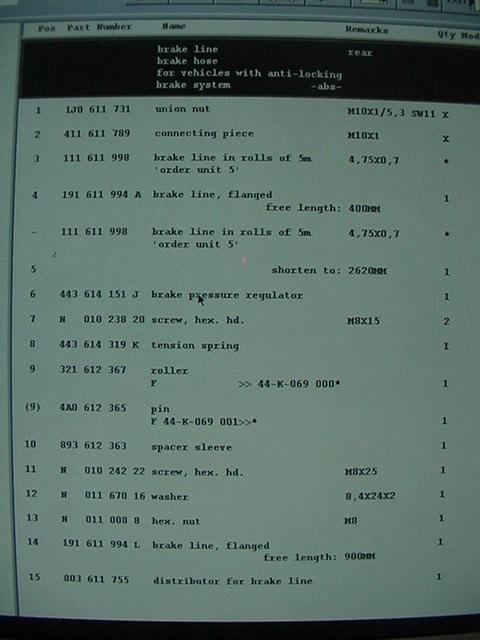
Zoomed ETKA picture showing the rear brake diverter valve

"brake pressure regulator" #6. Front to Rear bias:
Here's another photo as Phil Rose mentioned (4/17/2005) there is
 i
i
a Left to Right proportioning valve tucked away under the rear of the car.
#15 (tee) is called a "Distributor"
Year 1991, Main Group 6, SG 11: Illustration #56-00
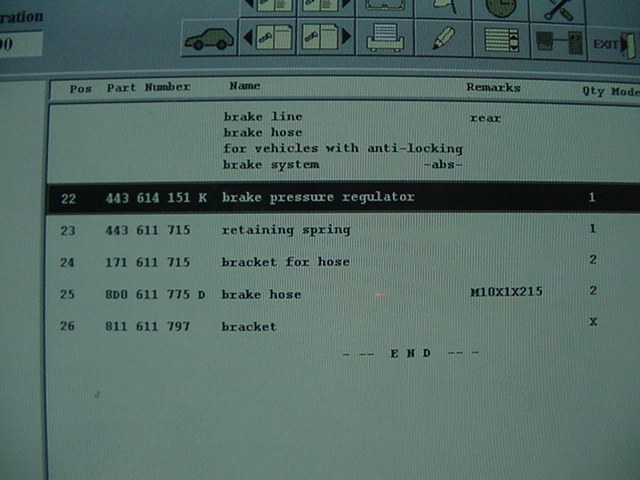
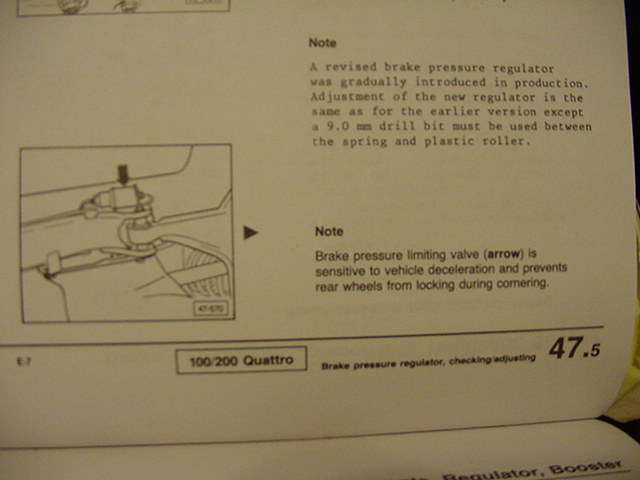
(#22) 443 614 151K. Bentley note below:
Right Passenger side (RR)

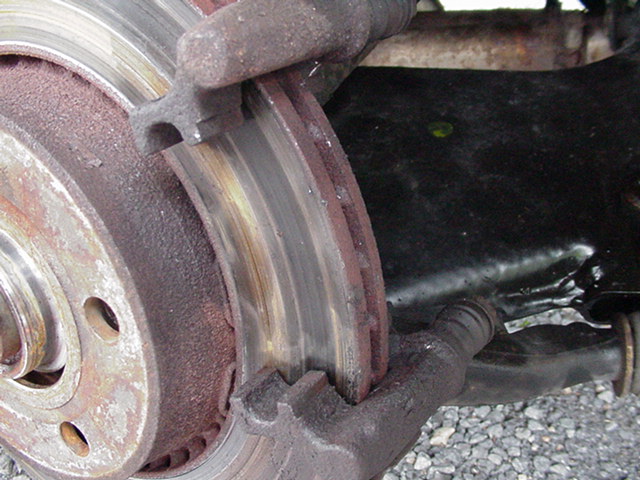
A look from behind with the wheel / alloy removed

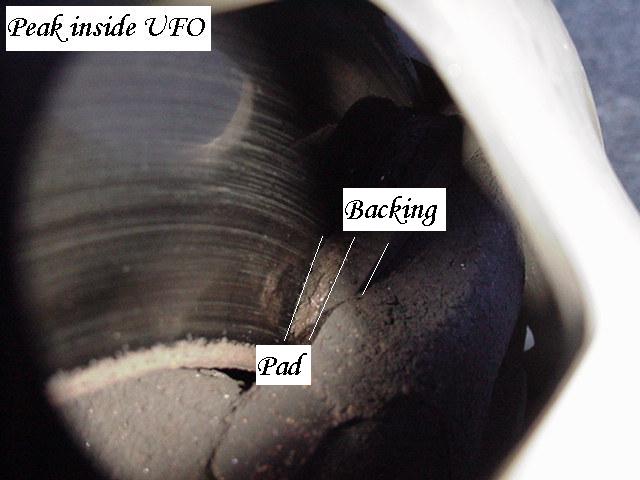
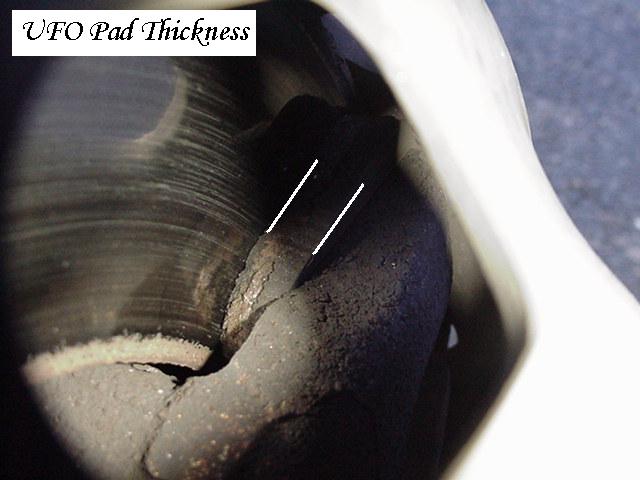
The red shows the pad depth EXCLUDING the backing plate

This visual inspection shows about 1/2 pad depth remaining.
Below the rotor appears thinner on the inside. Similar on the other side.
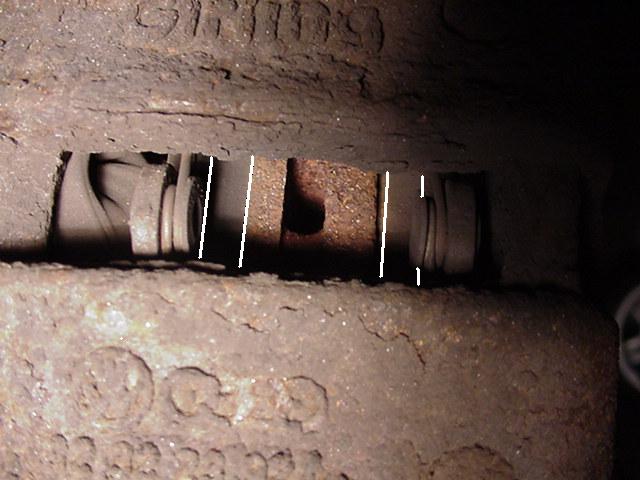
Pad depth through the carrier so check for even wear.
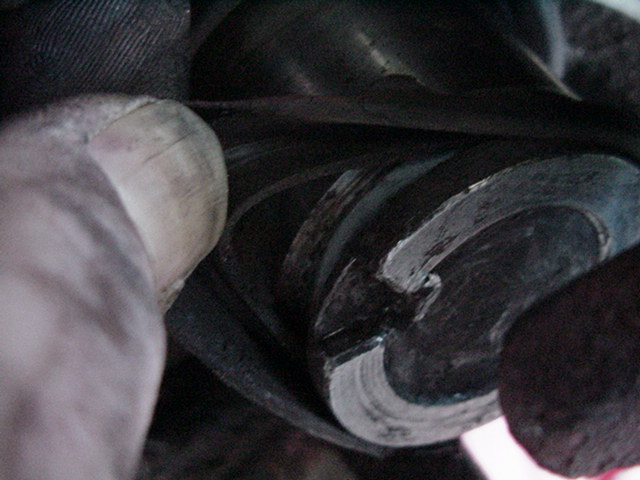
Below is how the boot attaches to the guide pin over the "ridge"
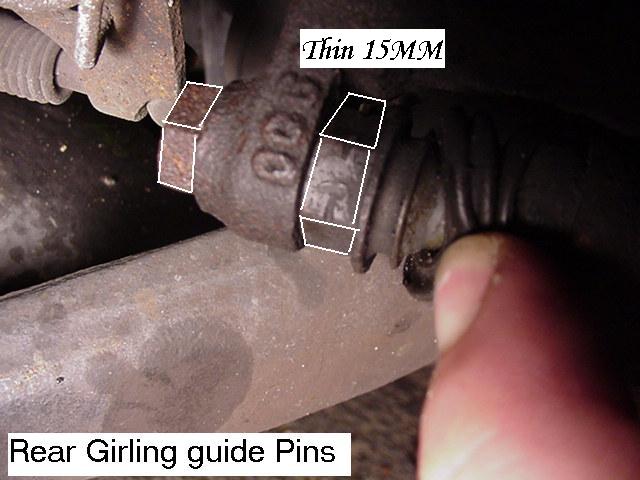
To undo the pins you need two different wrenches 13 mm and a narrow 15 mm
*** If a THIN or shaved down 15MM is NOT used The 25 lbs torque will not be true ***
I suspected loose guide bolts from the trapping of a thick 15MM wrench during tightening
See Photo below:
(INSERT PHOTO)
The guide pin flutes allow the grease in the carrier to escape from the hole too.

Brett of Audifans.com took his out and polished them.
Foreground is where pin goes,
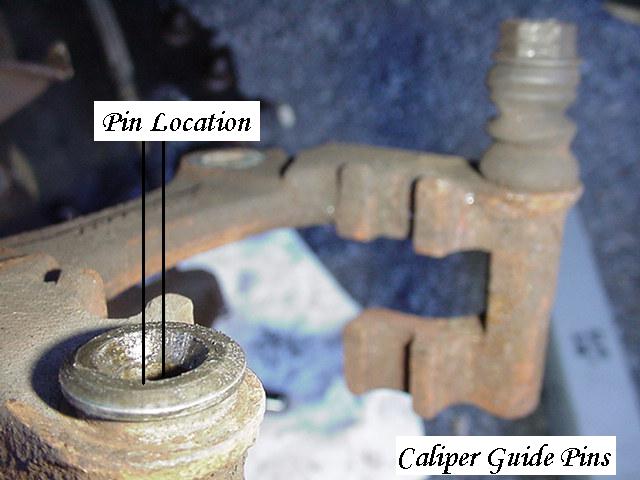
behind is the "guide" pin installed with the boot stretched.
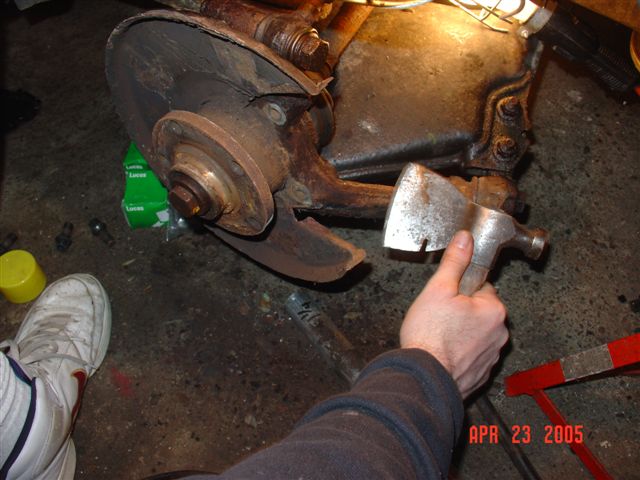
The above photo has the carrier removed from the vehicle. See below:
Caliper Carriers:
In order to remove the rotors, we need to undo the (2) carrier bolts.
The bolts have a center hex fitting which an 8MM hex socket fits.
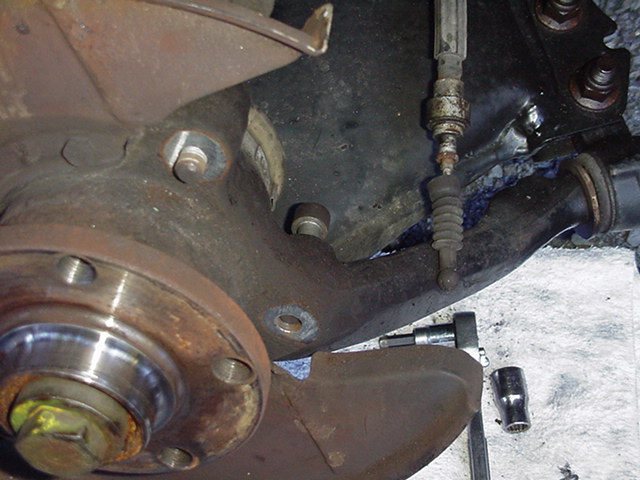
For clarity, here's the sedan caliper bolts with the carrier removed for reference.
The Bentley manual has the torque reference 50 ft lbs page 46.15
However, these seem to strip out easily...when rusty (Avant)
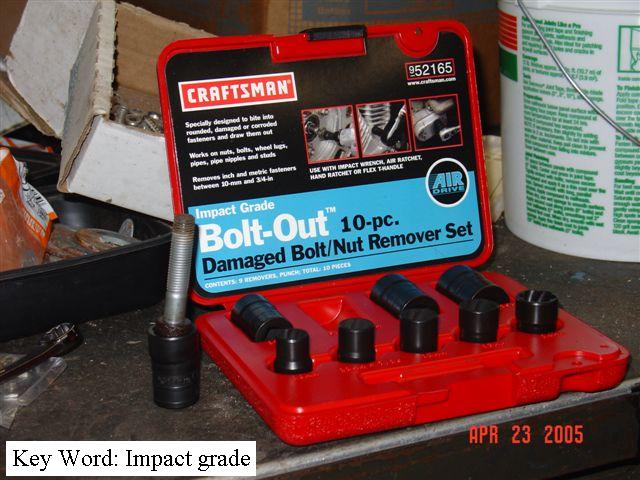
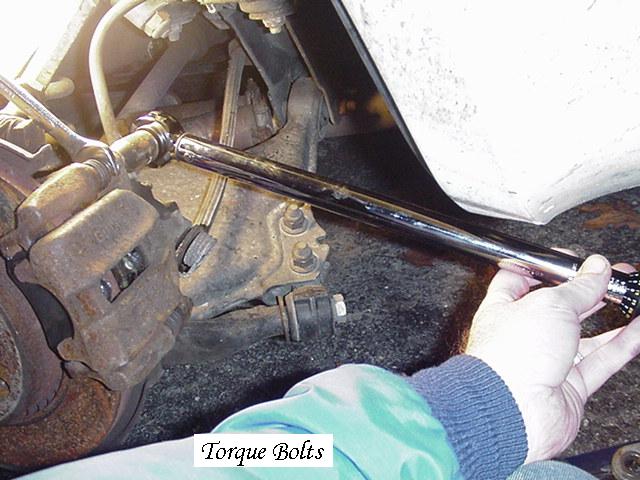
So I bought these ~ $45 and they are a life saver!
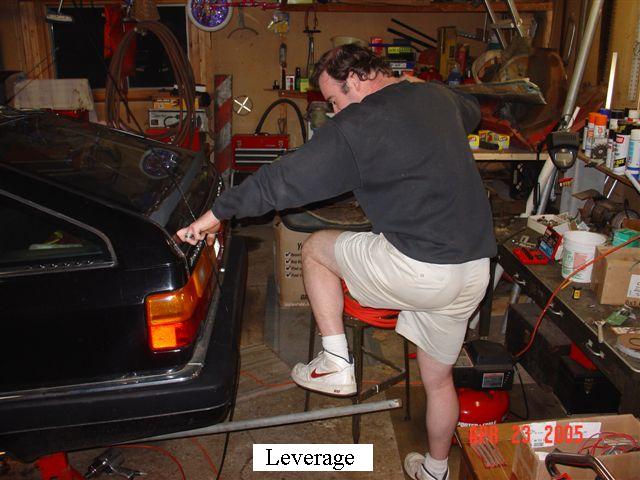
No I didn't really do this, I used steady hand pressure and the "broken bolt/nut remover set" on the Avant.
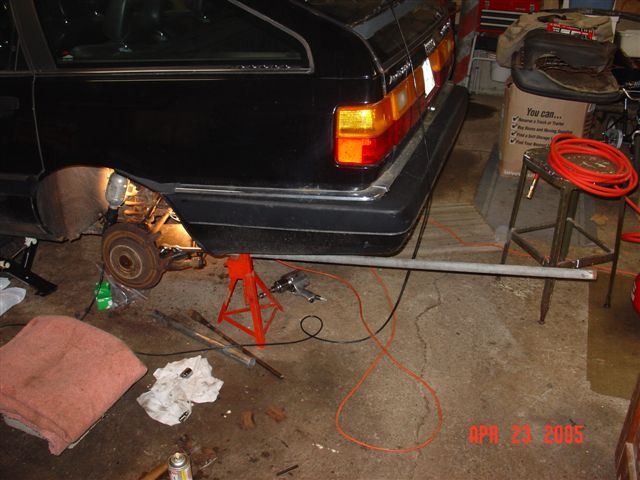
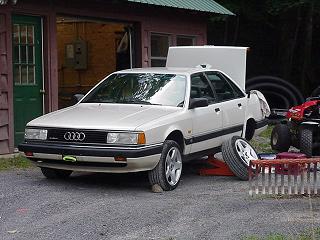
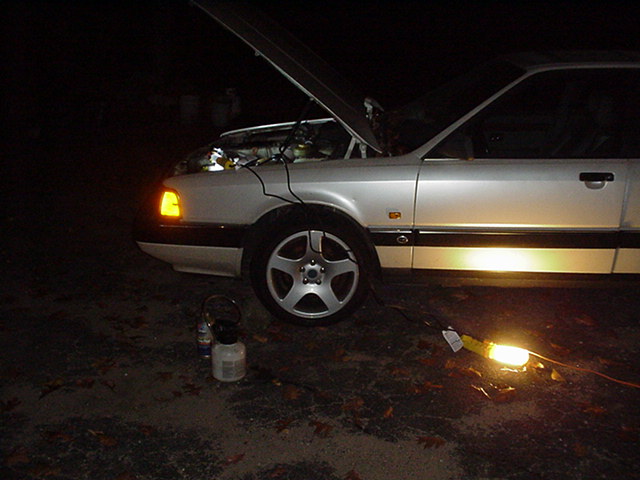
I expect to get flamed for the jack stand placement. Another jack is in use.
With the carrier removed I can file down the rust on the suspension components.
I'll replace the carrier bolts and reassemble the pins like below:
I found it hard to set a torque wrench to reinstall them with out an extension
and some wiggle room with a smaller 3/8" torque wrench.
Carrier Guide Pins & Boots:

Lucas makes guide pin repair kits for the Girling Caliper.
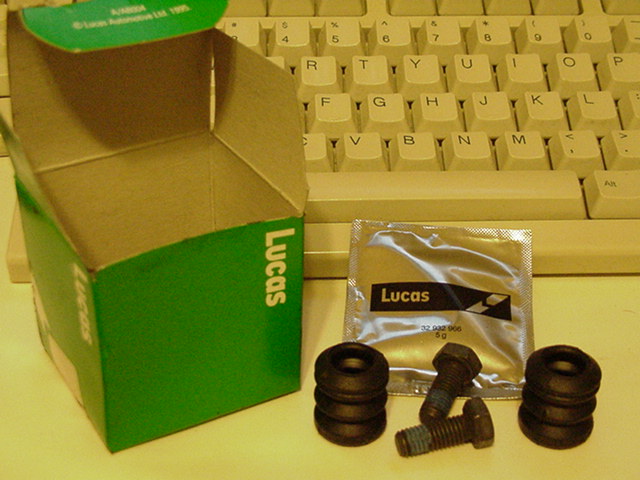
Kit includes two Loc-tite Caliper bolts, two boots and high temp pin lube.
I reused the old bolts. Whether I forgot to re-torque them or not ONE FELL OUT.
Use the new hardware LIKE THEY SAY. 25 Ft lbs per Bentley
*** If a THIN or shaved down 15MM is NOT used The 25 lbs torque will not be true ***
I suspected loose guide bolts from the trapping of a thick 15MM wrench during tightening,
then when the wrench is yanked out, the outer bolt will not be at 25 ft lbs anymore.
(INSERT PHOTO) as above
Installing the Pads:
The book says to use a paste like this to coat the caliper surfaces.

Thirteen Bucks? "Hi-Temp" so it won't melt away.
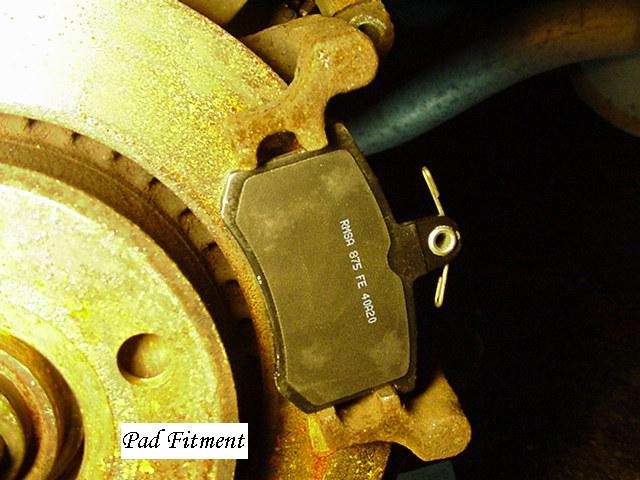
So I grab the pads and get ready to test fit and grease the tabs and more.......

Then I cleaned the surfaces where the pads go.
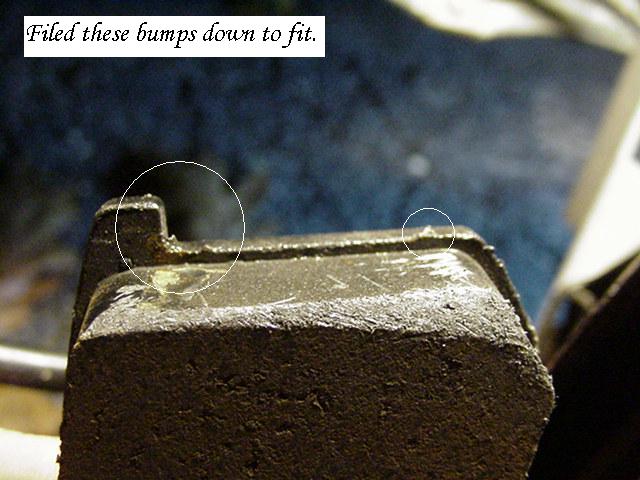
I filed down the pad epoxy or paint bumps so they'd fit perfect.

Then I filed the corners of the pad material like the instructions say. "Chamfer"
Nice and pretty.
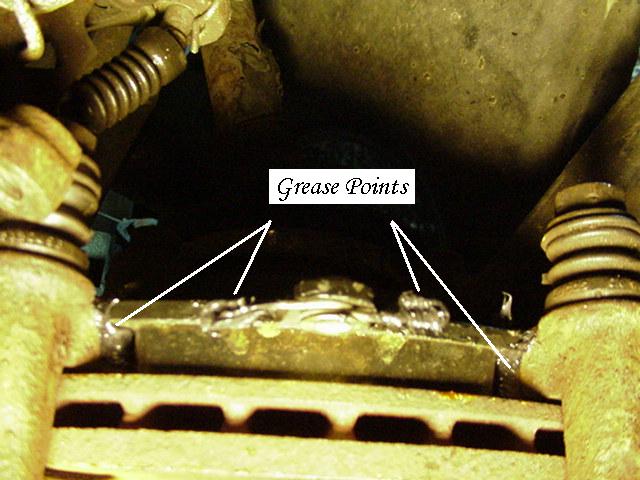
Step one: One side of pads greased into the carrier.

Next: Start prepping the other side.
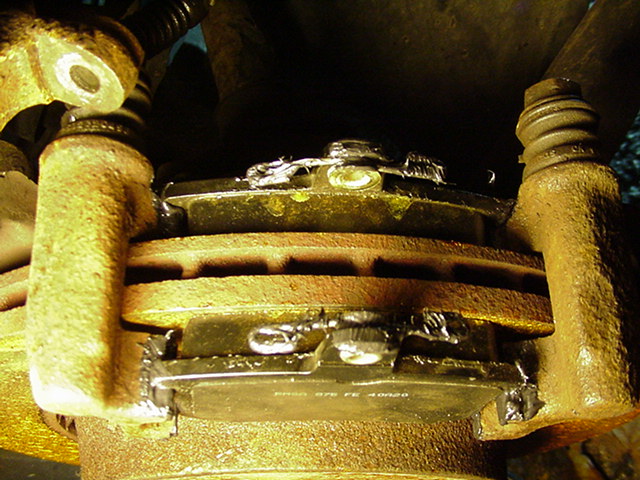
Pads installed, now for some grease on the backs of the pads.
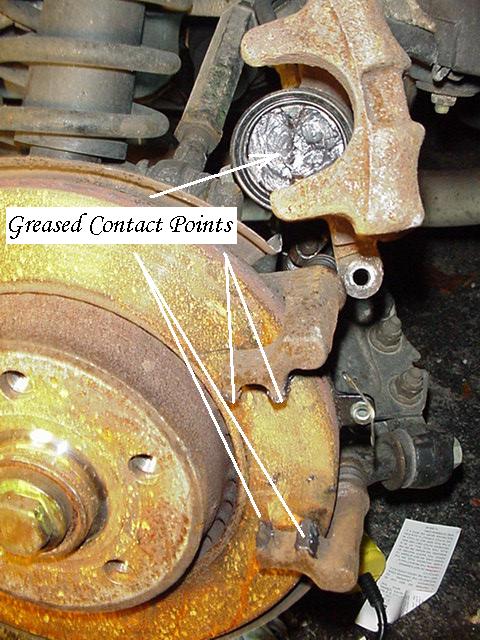
I also put some Grease on the two tab points above in the photo
where the two "fingers" hold the outer pad against the rotor.
The inner pad gets grease on the face of the piston.
Some other applications had a metal disk.
Now its time to put the caliper over the pads and torque the loc-tited bolts.
*** See the warnings above about a THIN 15mm inner wrench. ***
Now we bleed the brakes with a pressure bleeder.
Do both sides then bleed. Car level.
Bentley says: RR, LR, RF, LF Left being drivers side.
Brake pad depths.
Front 20V
Rear 20V (sedan)

Here the thickness of NEW pads with backing plate is:

5/8" : 0.629 of an inch OR 15.90 mm
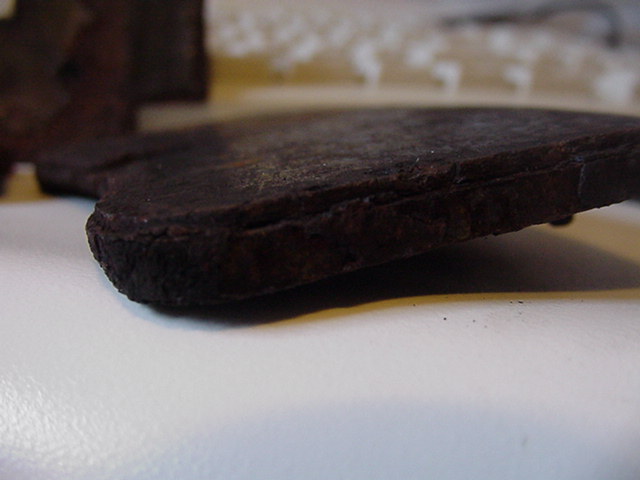
Here is a 2/3 used 200 10V Avant (same Girling) fit thickness.
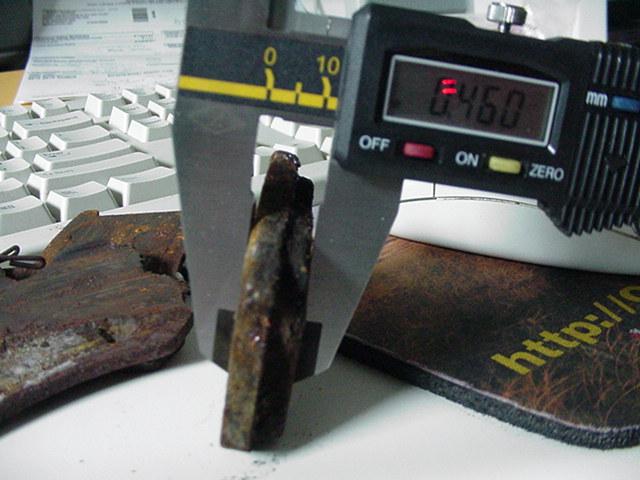
.460 of an inch OR 11.69 mm
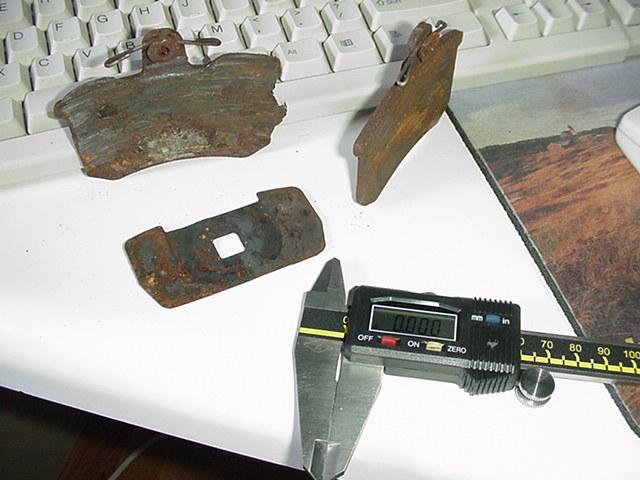
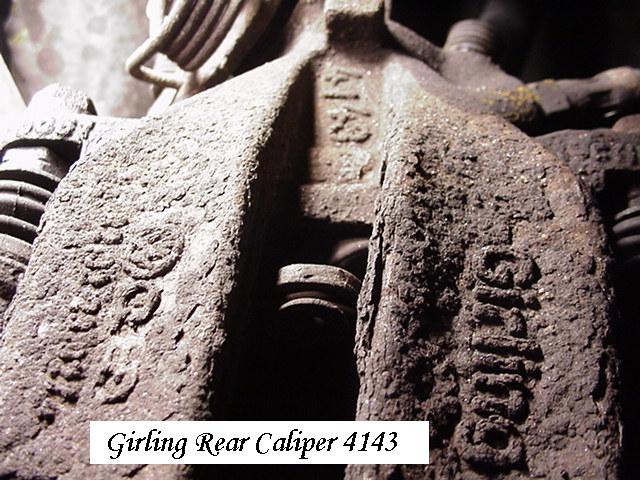
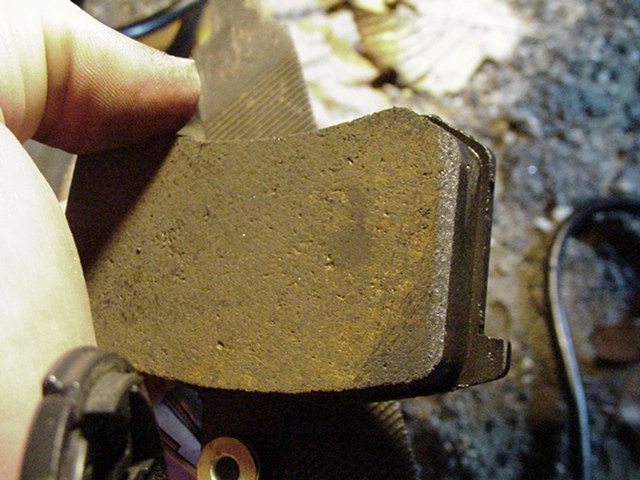
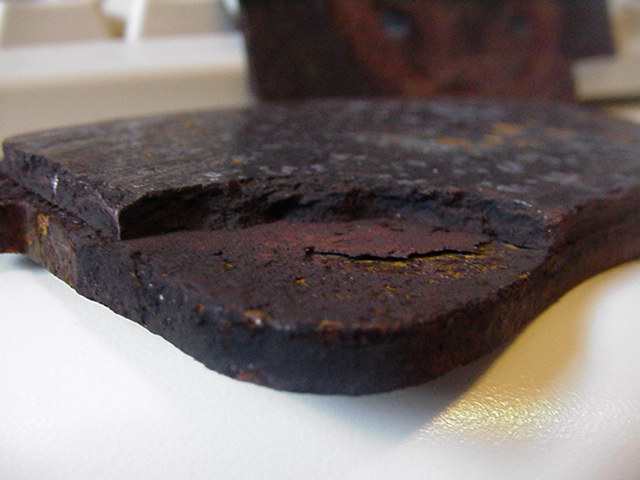
Here is a worn 200 20V sedan (Girling 4143) brake pad thickness.
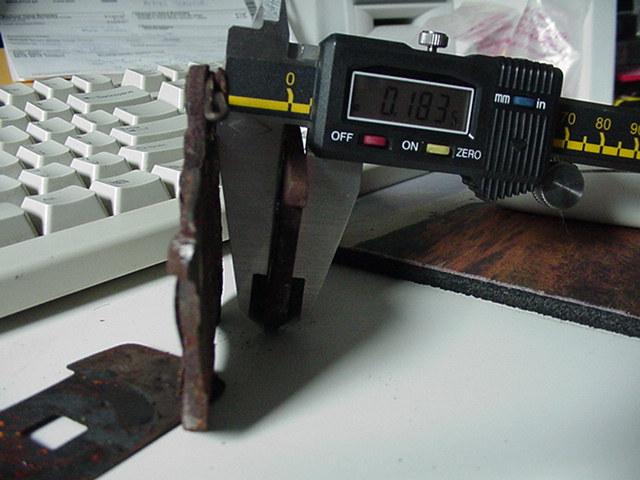
.183 inch OR 4.64 mm. NOTE this is the thickness of the backing plate ONLY.
Outboard RR Pad (Backing Plate)

.098 inch OR 2.51 mm. NOTE this is the thickness of the backing plate ONLY.
The Pads say to get a metal file and bevel the edges of the pads.
This is also called chamfering.
Piston & Caliper rebuild (R&R)
20V rears Sedan
In theory: if your boots are good, take out the pads,
crank in the piston and replace with new pads.

Jason likes the worn pad material clean off the backing plates.
Hmmmm. Two different cars, six of eight pads are like this.. Hmmmm.

Here's the scored rotor

Here's the blown Piston boot

With the caliper removed, we can see the backing plate into the rotor.
You need to undo the carrier bolts (2) to get the rotor off.
Shown in the above photo 8mm hex heads.
If they strip, scroll up to see how I removed them on a rusty Avant.
SINCE: I removed the caliper from the car,
I had to undo the E-brake cable.
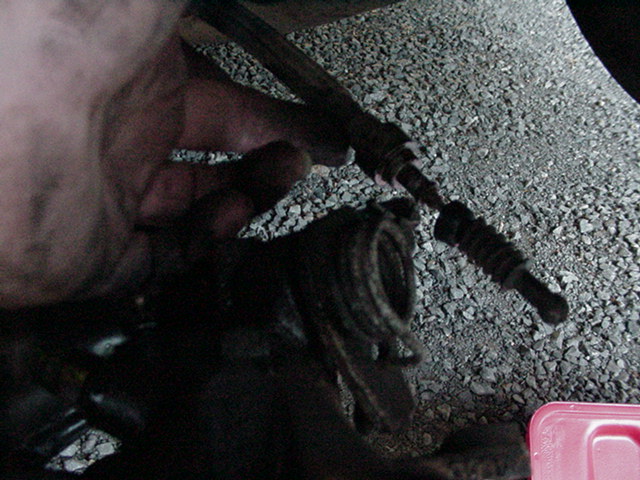
and disconnect the E-brake cable by thumbing in the Cam
to create slack to pop the cable end out of the channeled wire holder.
Caliper Piston Assembly / Boots
I replaced the torn piston boot AFTER these photos taken to get back home.
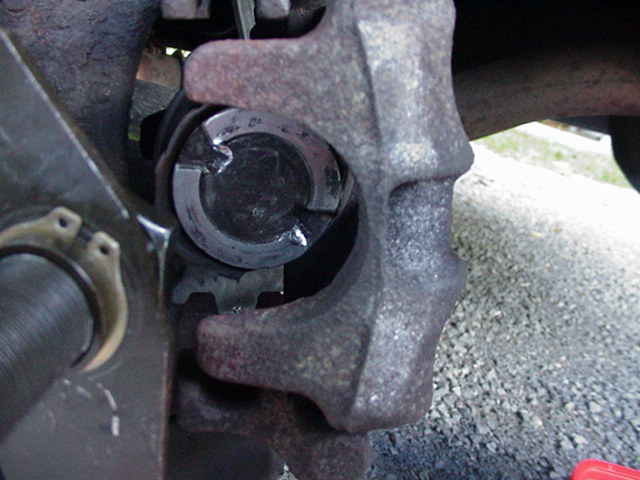
Above is outer piston groove. Here's the piston boot seal kit:

Piston Seal Profiles
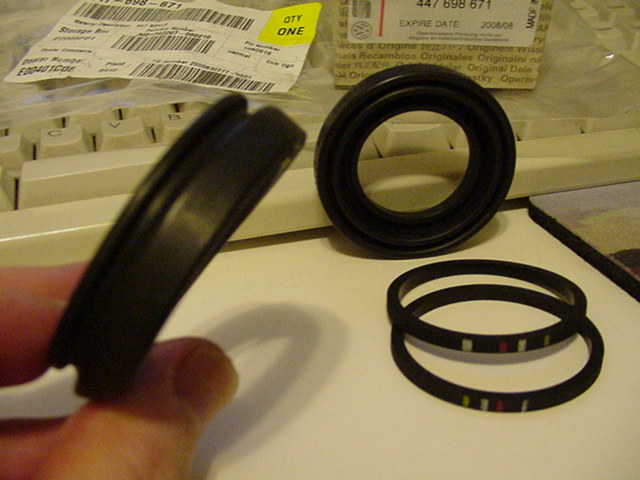
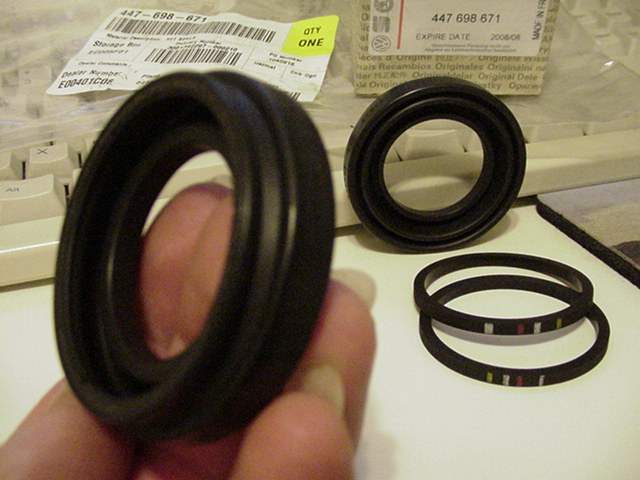
Below, the seals are front and back views.
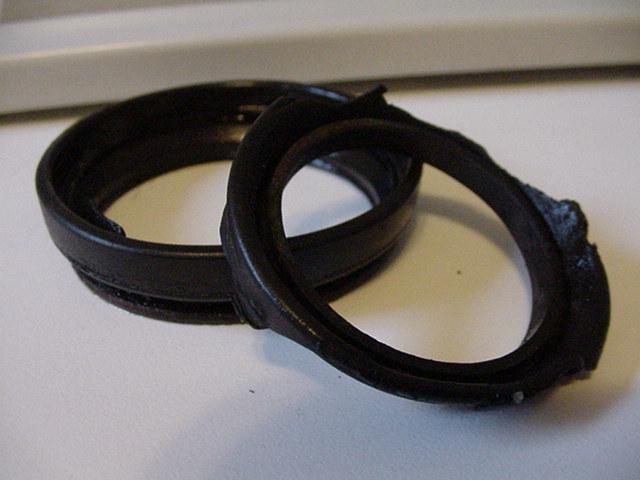
The old piston boots were torn
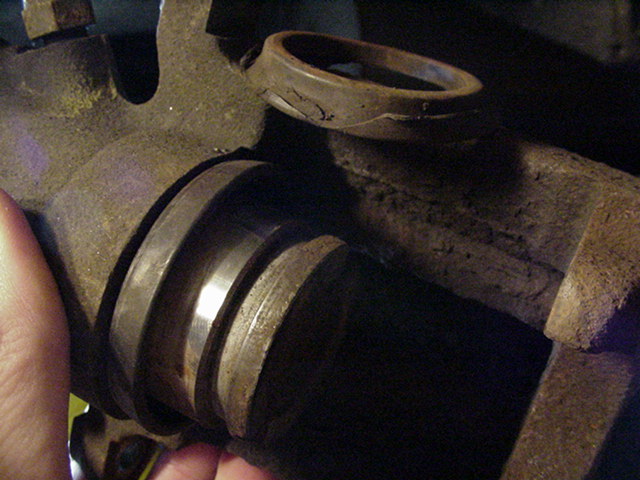
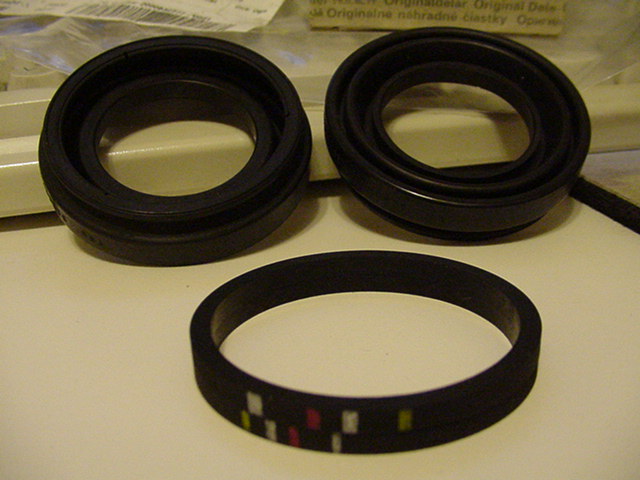
Above: The piston outer seal remnant is removed (on top) of caliper
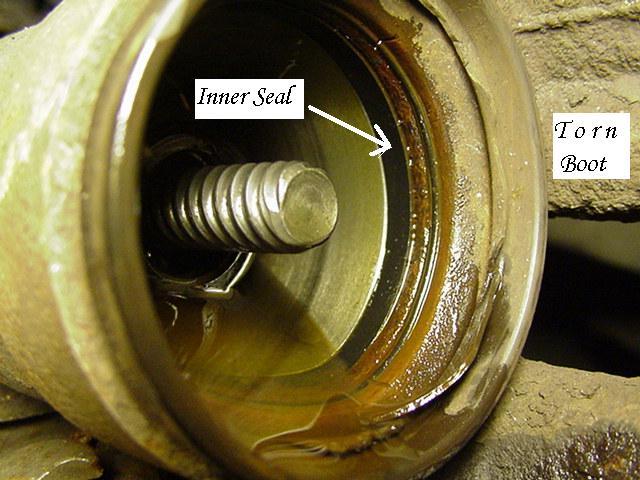
The kit had cut washers with color bands: They go here, "inner" seal

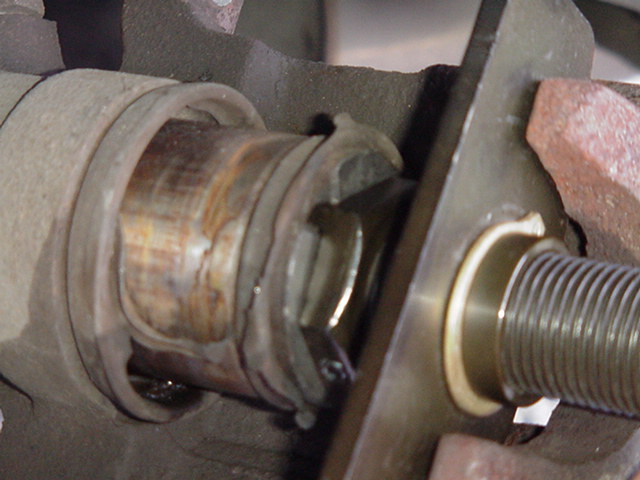
Inner flange of the piston boot removed looking inside the cylinder bore.
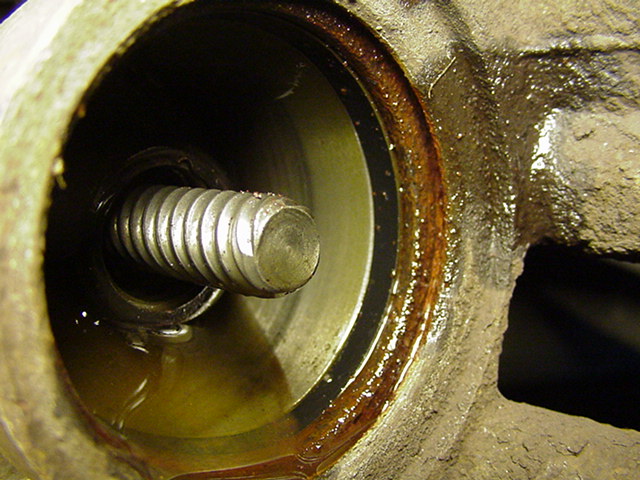
Above: Piston seal completely removed.
Notice the threads in the center.
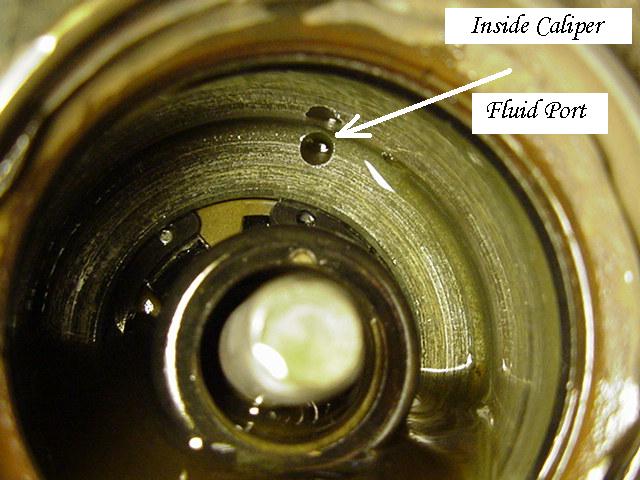
Looking further inside the Caliper Cylinder Bore, we see the fluid port.
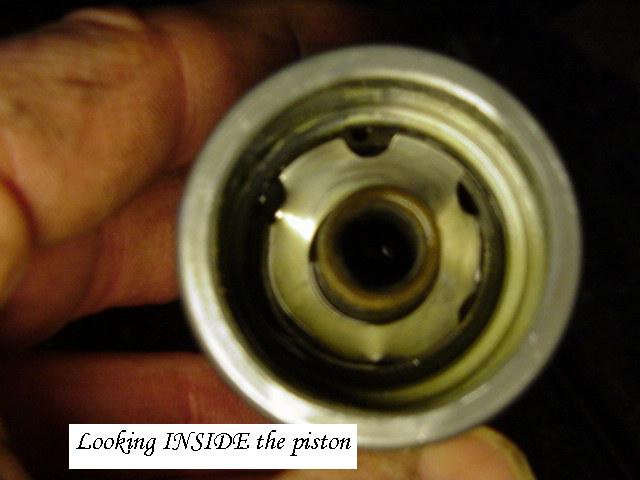
Looking inside the Piston, we see threads, washer/seal and a spacer mis-aligned?

Installing new seal: Pushing back in the Caliper Piston.

Metalnerd.com makes this substitute Audi Caliper tool for ~$45.
Unlike the picture(s), if the piston is out (or fully extended) its a PITA

to push in the piston far enough to get this tool
in between the piston and the caliper carrier.
I found you had to tighten the jam nut twice as fast as turning the handle.
The end of the tool aligns with the piston contour.
Like that.
Now if the piston is straight in the bore, It will wind in easily.
Mine was SOooo FAR out that it was cocked to the side and mis-aligned.
Probably hung up on the threads internally.
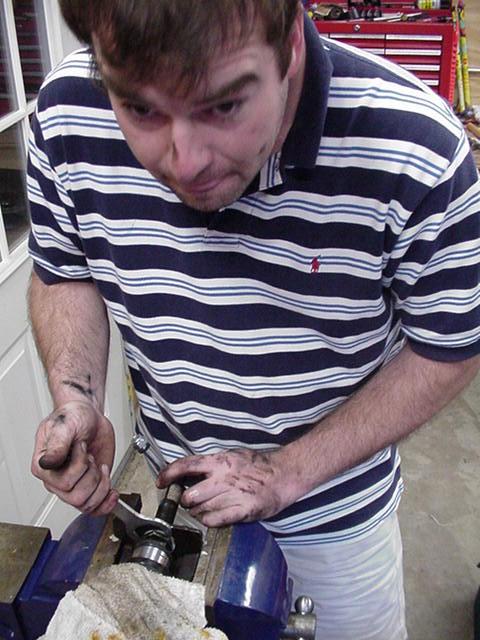
So out it came and into a shop vise.
Here the tool works by using the special wrench in hand,
turning the jam nut until the slack is taken up, OFTEN.
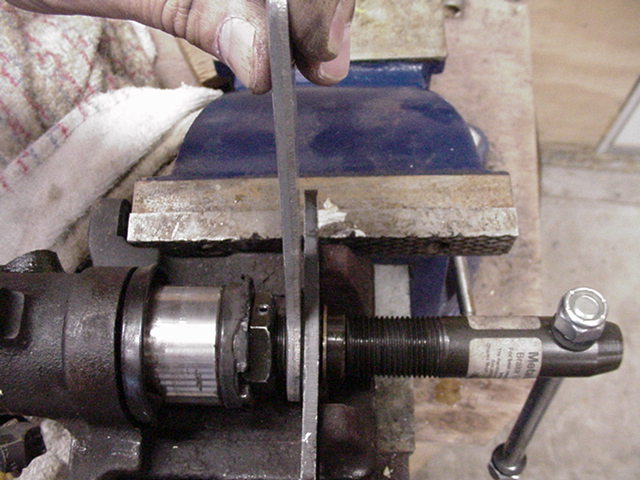
THEN you use the outer "T" handle to crank in the piston,
then reset/adjust, and crank in some more. Over and over.
Hey if you're gonna score the rotor, you might as well either turn it,
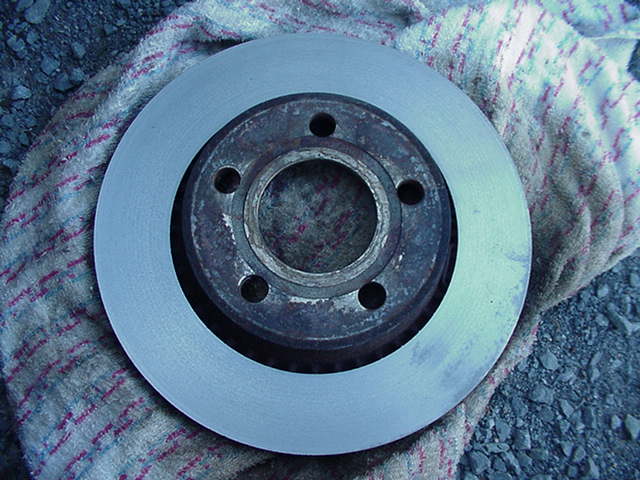
Or buy a new one.
Follow the Bentley manual for proper tightening torques.
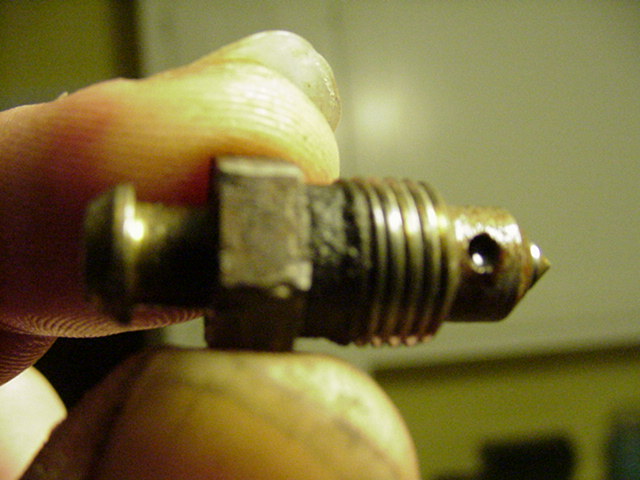
The bleeder screw was 11mm for me. Some say they are US sizes.
I needed 13MM a thin wrench for the caliper guide bolts.

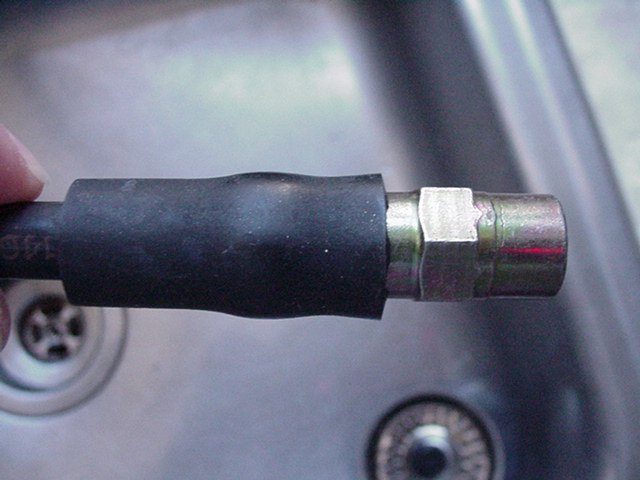
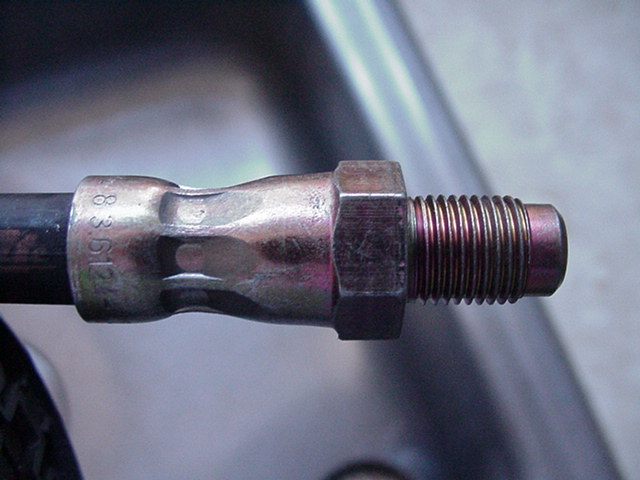
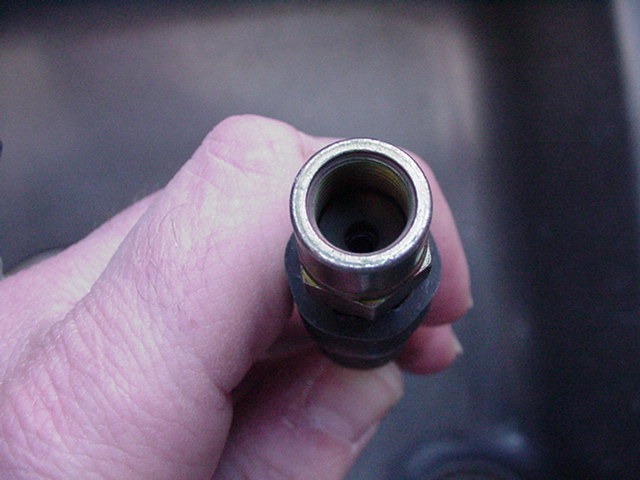
Check your hose(s) while you're in there.
These OEM rear hoses are reasonably cheap. under $10 each.

Pad thickness and some identifying markings JURID pads

Hope This Helps (HTH) -S.
Back to top Back to 200 Index Back to Main Index
09/23/05