
Audi 200 20V (1991) 3B Distributor and more than enough vague
info about the "correct" & revised metal gear part and rotor
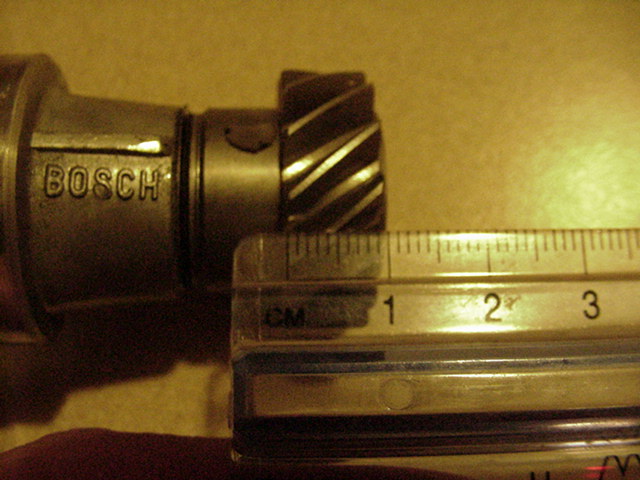
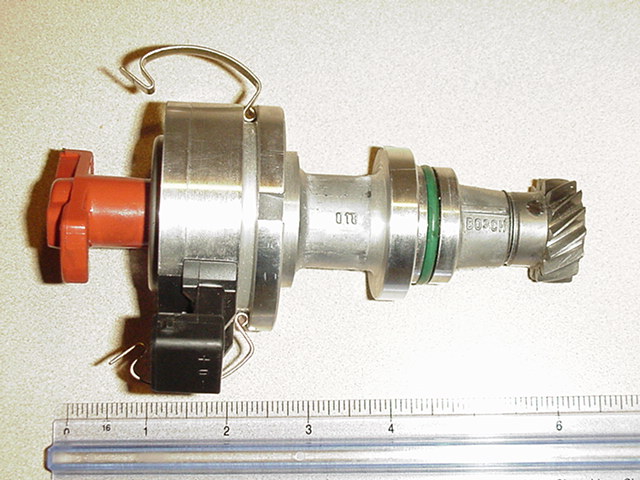
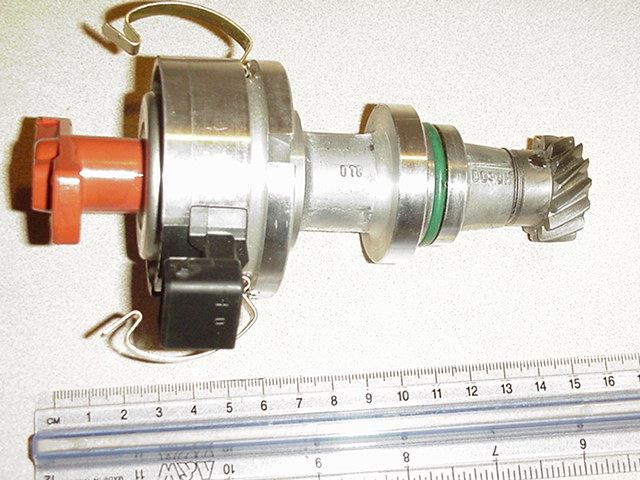
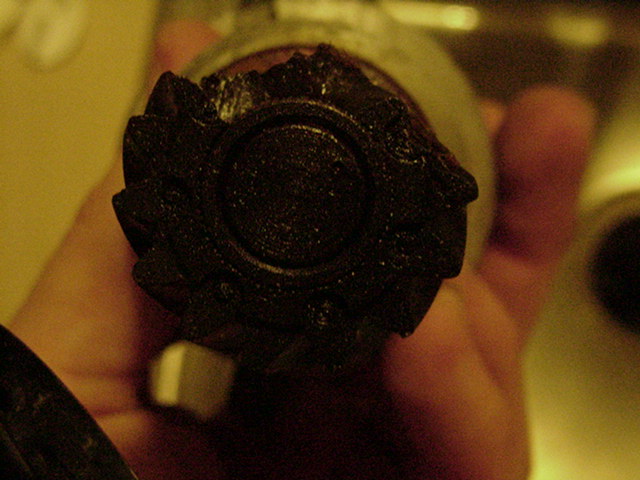
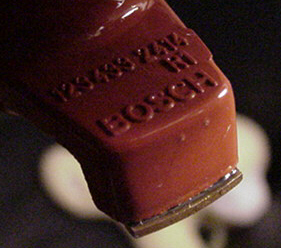
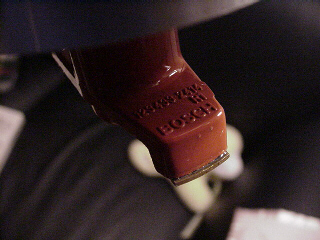
New Vs. Old
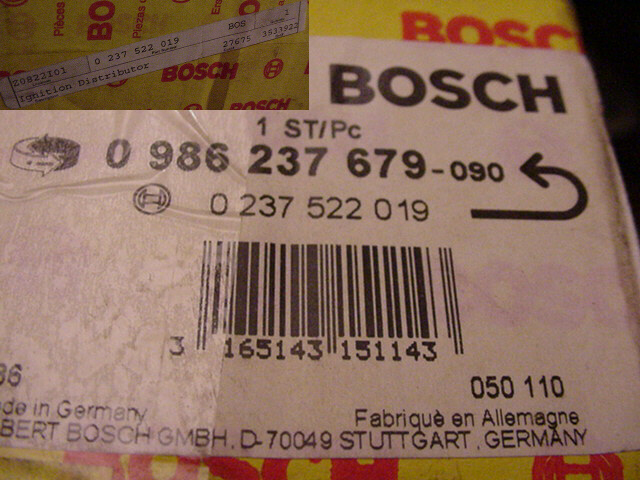
Left is the replacement Bosch - Right is the Original Bosch/Audi
The distributor from Audi differs in the old plastic gear
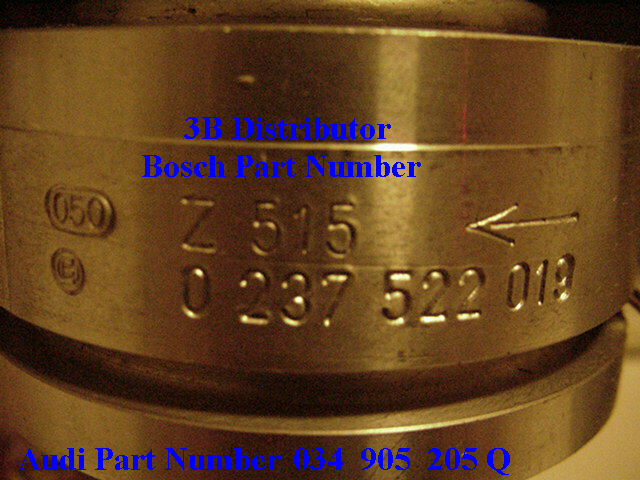
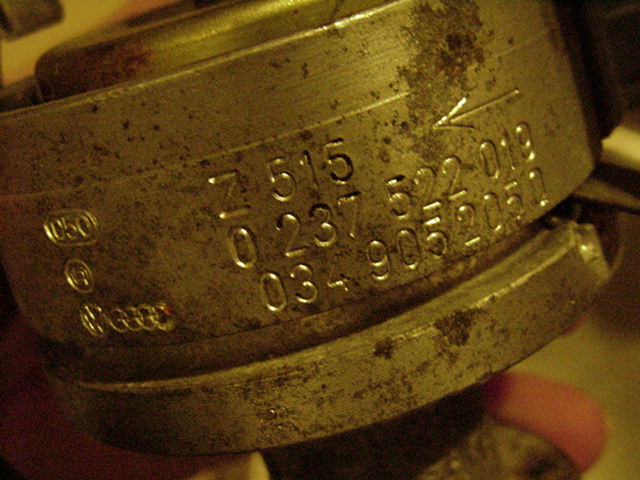
and the Audi part number stamped on the side.

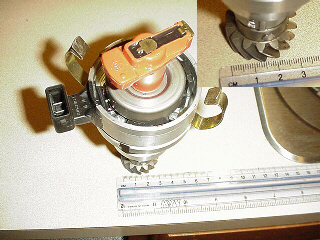
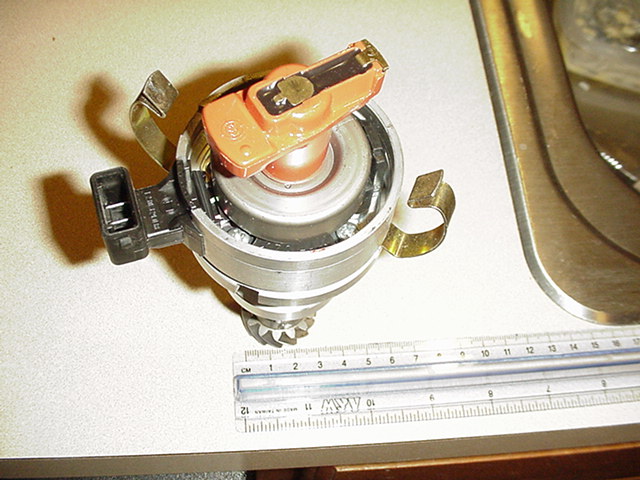
Here's the Distributor:
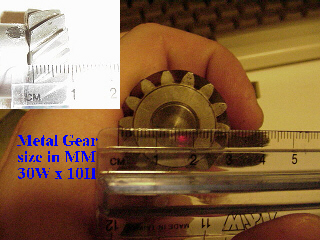
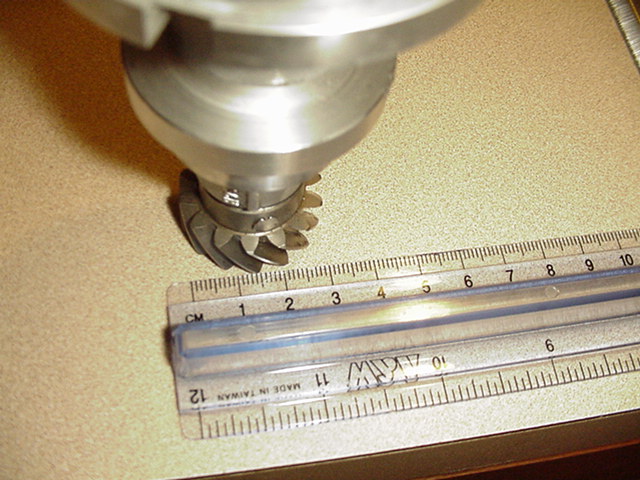
This is the revised / "updated" metal gear Vs old original "plastic" gear which broke.
Gear is ~30mm "W"ide and 10MM "H"igh
Which is supposed to prevent this:
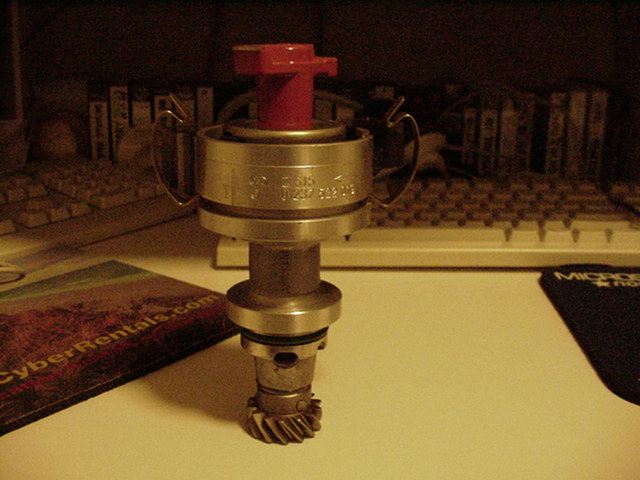
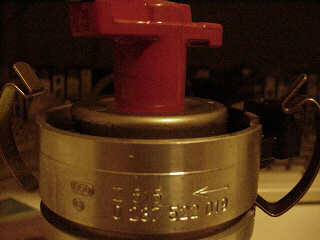
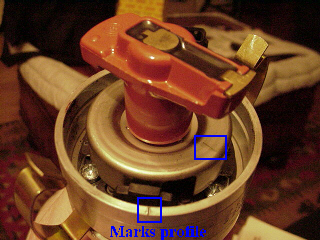
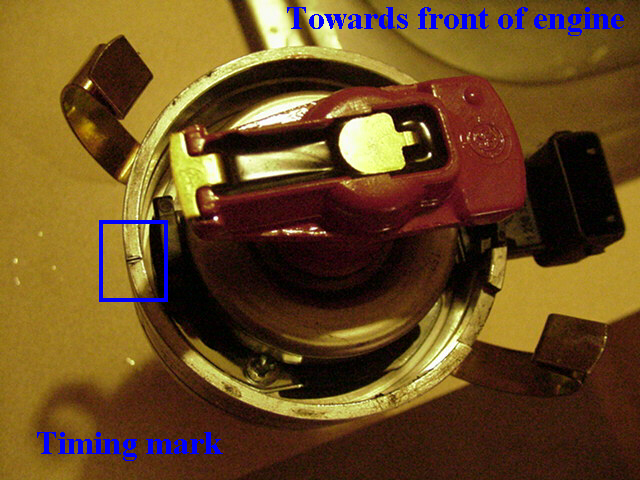
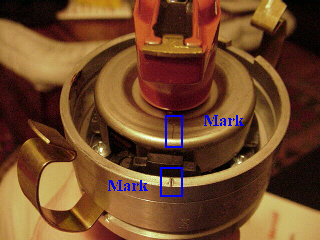
Here are the alignment marks on the distributor.


I marked the grooves stamped in the metal in black marker in this photo:

Notice the inner ring (mark) lines up with the rotor**.
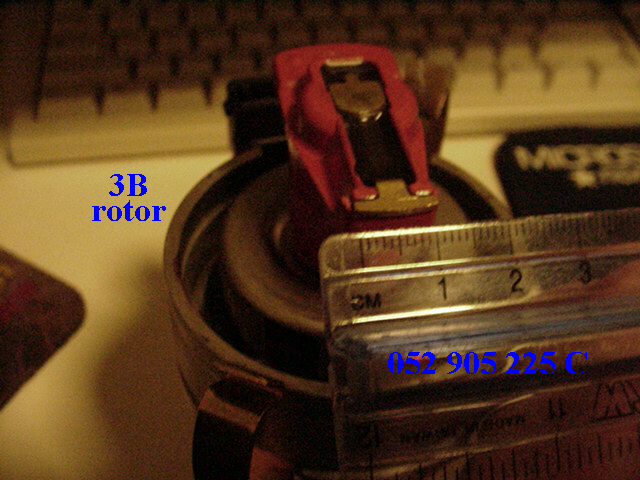
This is the Bosch part number for the 3B rotor**.
123433 2414 H1. (10 mm wide) (Audi: 052 905 225 C)
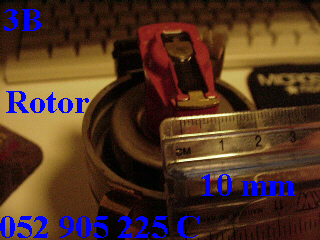
(H 1) means rotor** tip to center contact is 1000 Ohms resistance.
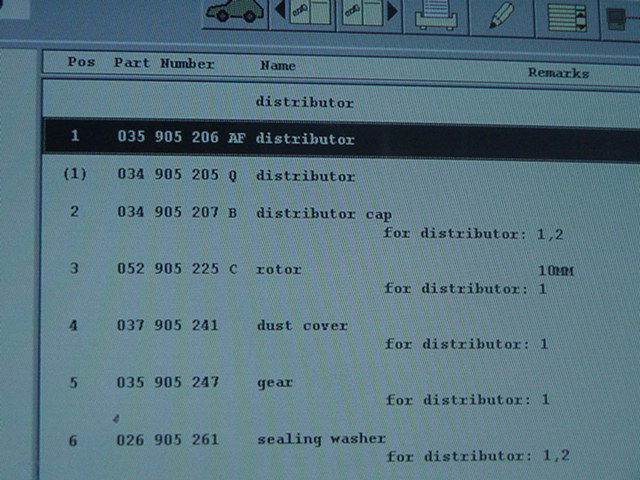
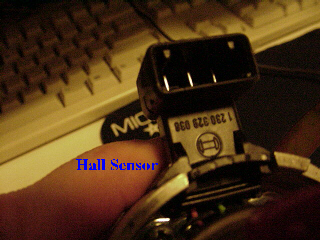
Here's what Audi calls for.
Here the Hall Sensor is mounted on the Unit.
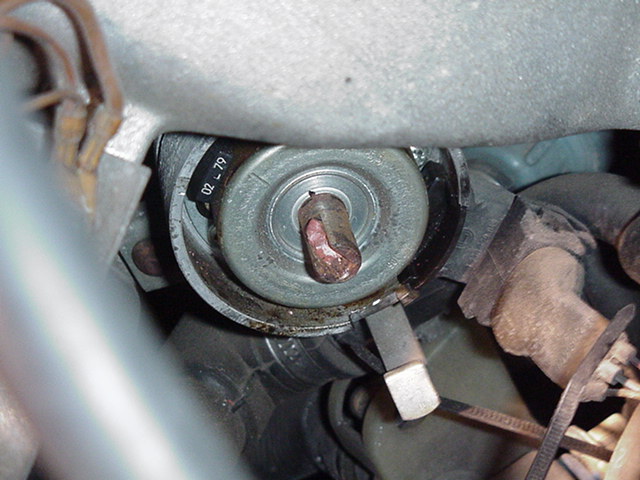
Here is the old distributor still mounted in the car.
The inner ring stamped alignment mark (HERE) points to ~ 10:30
Just to the distrib's left edge is the "bracket" (#7)* hold down screw.
The top photo installed in the car assumes distributor
was turned by hand and is not set correctly.
Peter Shultz says the outer alignment mark goes to about 7/8 o'clock.
I'm guessing 9 o'clock is parallel with the Intake Manifold (IM)
and is towards the front of the motor.
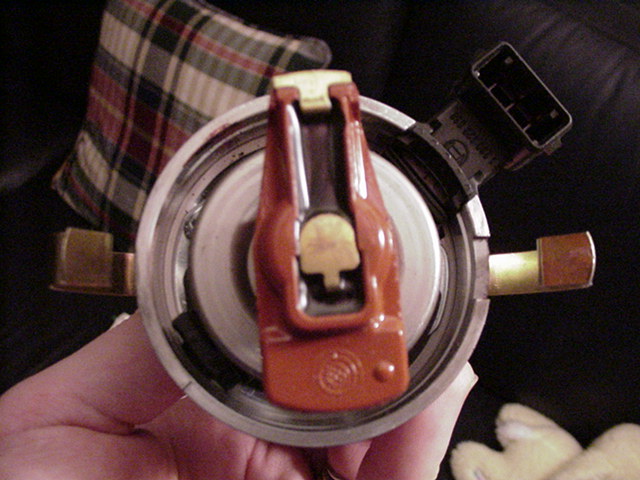
Notice that the outer mark is 180 across from the hall sensor.
Hall sensor faces towards front of car when installed.
The above photos are for reference only.
** Rotors are glued on from the factory. Old one needs to be broken off.
* (#7) "Bracket" shown on exploded diagram view:
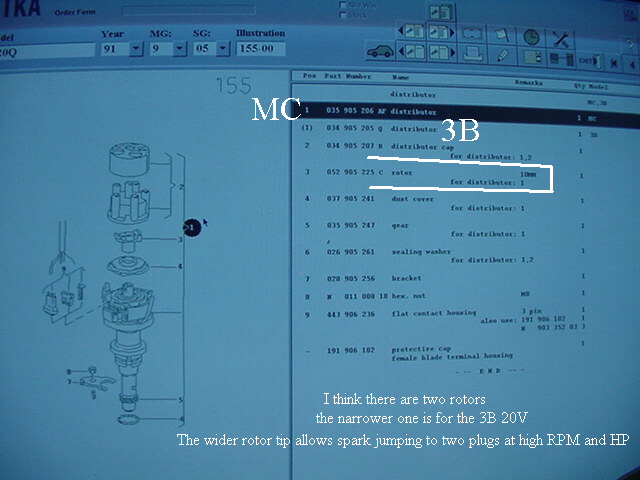
#7 is the bottom left claw shaped piece drawn.
Consult the Bentley manual for these steps:
Assume these are not correct and use ONLY as a guideline.
I am NOT an expert.
Replace and removal:
1. Take off cap with plug wires.
2. move out of way.
Bentley Manual calls for the removal of the intake manifold, others don't bother.
It can be done as is in the photos.
3. Remove metal "tamper" cover. (Not shown)
4. That cover hides the nut which holds the bracket preventing Distributor movement.
5. Loosen nut and remove bolt, bracket.
6. Pull out distributor.
Reverse procedure to replace and tighten distributor.
FYI:
To the left of the distributor shaft is a metal plate covering
a "Nut" which is the adjustment for the "bracket (#7)
Below are rough measurements of the gear dimensions
for those who wish to copy the gear.